3D Animation Character: What It Is and How It Is Made
What if the final render is the worst place to judge a 3D animation character? A polished still can hide a broken rig, unreadable silhouette, or a face that can't smile without collapsing. You'll learn more by asking how the character was built, in what order each stage was signed off, and, for children's work, how its design affects the audience. Think of the character as a puppet built in layers. Each layer has a job, a test, and a cost if you change it late. Work through those layers in order and expensive surprises become much rarer.
What a 3D Animation Character Really Is
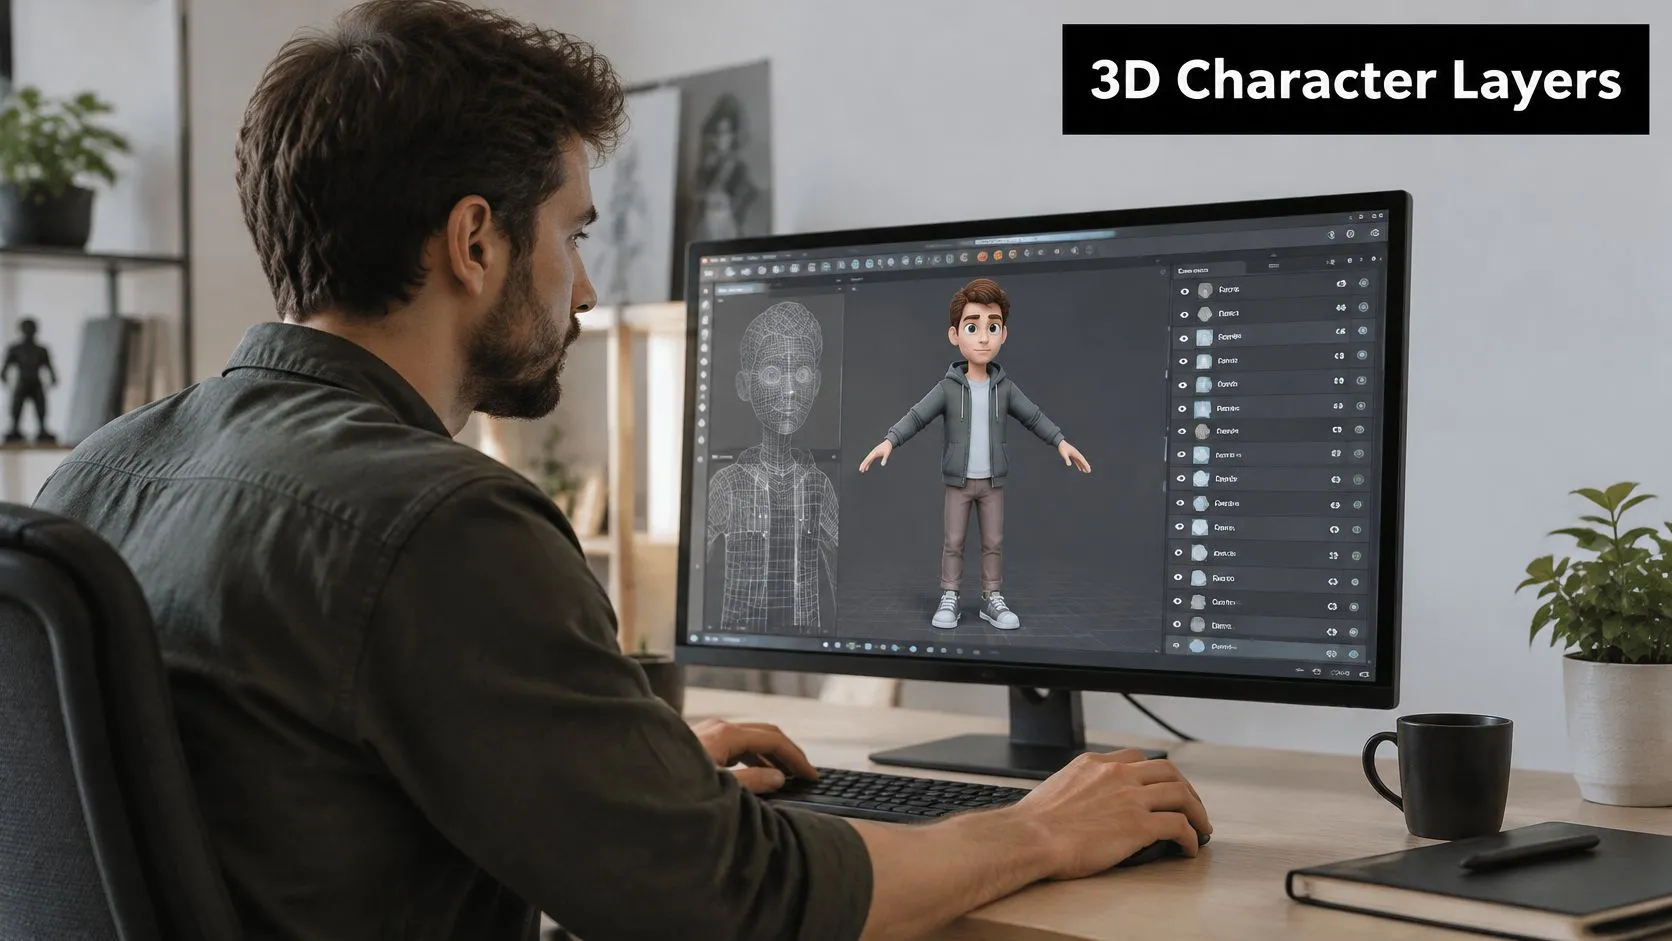
Say you're building a friendly robot for a children's series. It's a digital puppet in four layers. Form is the geometry, the body's surface built from polygons or subdivision curves. Structure is the rig, the skeleton and controls that let an animator pose it. Appearance covers materials and textures for metal, fabric, skin and wear. Motion is the animation that makes it act. Unlike a flat 2D drawing, this character exists in virtual space. You can light it, rotate it and film it from any angle, then reuse one model across shots, episodes and platforms. Good character design fundamentals make that reuse possible. The craft has British roots. A history of computer graphics identifies Tony Pritchett's The Flexipede, made at the Open University and shown at Cybernetic Serendipity in 1968, as the first computer animation made in the UK. Filled-colour work for The Burke Special followed in 1972.
The Six Stages From Concept to Finished Character
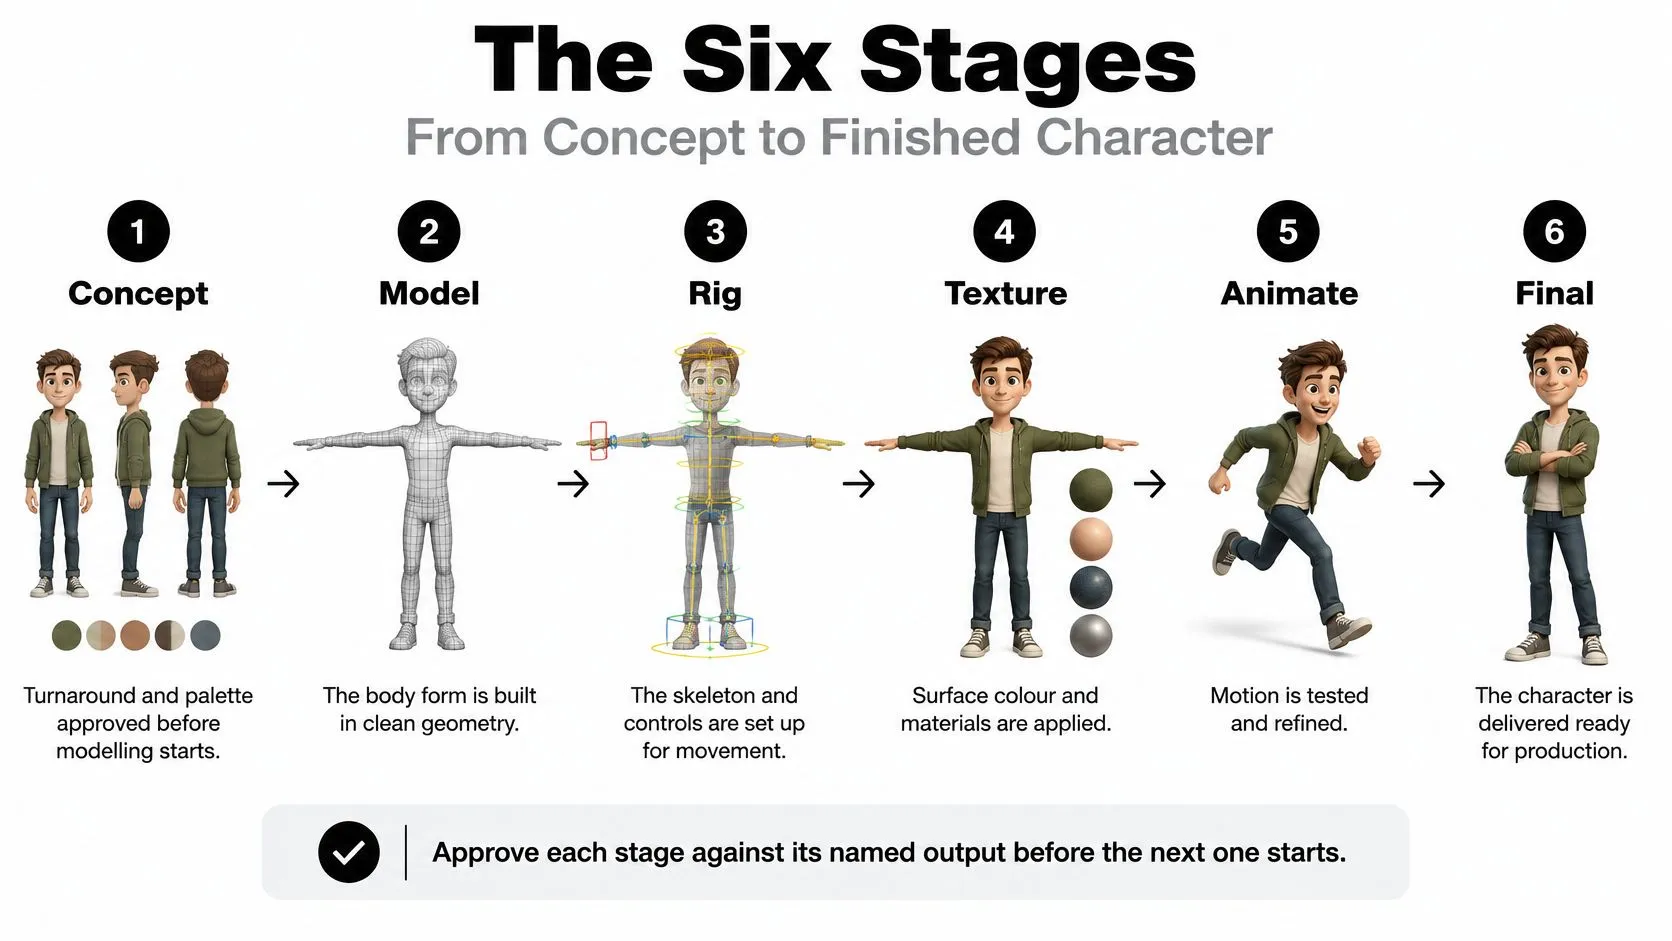
| Stage | Question it answers | Output to sign off | Common slip |
|---|---|---|---|
| Concept | Who is this character and how do they look? | Turnarounds, palette, silhouette test | Skipping the silhouette test |
| Modelling | What is the form in 3D? | Locked mesh matching the turnaround | Approving a model without checking it in motion |
| Rigging | How will it move? | Skeleton and animator controls | Building the rig before the model is locked |
| Texturing | What surface does it have? | Texture maps for skin, fabric and wear | Painting detail onto a model that will still change |
| Shading | How does light react to it? | Materials and look development | Judging the look under one neutral light |
| Animation | How does it perform? | Approved shots and facial performance | Animating on an unapproved rig |
Approve each stage against its named output before the next starts. That's the rule that controls cost.
Practical rule: Don't start texturing until the character passes a silhouette test and a rig test. A model change afterwards means repainting, relighting and retesting every map.
Hold shot approval until rig and look have both passed. After that point, corrections stop being tweaks and become rebuilds.
Modelling and Rigging the Character's Skeleton
Model density sets a ceiling you can't negotiate later. A game or XR character needs far fewer polygons than a film hero, so artists move detail into normal maps and baked lighting to keep frame rates up. A film hero can carry more polygons, plus subdivision surfaces and cloth or fur simulation. Set the polygon budget for your target before modelling starts. Confirm it in the engine or renderer the character will run in, such as Unity, Unreal or your broadcast renderer, not from a general rule of thumb.
Building a Rig Animators Can Use
A rig needs a clear joint hierarchy, controls an animator can grab quickly, and deformation that stops elbows and shoulders collapsing. Faces usually need blendshapes, sculpted poses for eyes, mouth and brows that the animator blends together.
- Build on clean topology: Place edge loops around each joint so skin bends where the body bends.
- Test key poses: Push extremes, including a raised arm, deep crouch and wide smile.
- Check in the target: Load the rig into the engine or renderer and play it there.
Texturing and Shading That Give Characters Their Look
Texturing is painting. Shading is the set of rules for how light behaves on that paint. Confusing the two is where many looks go wrong, so keep them separate in your mind and in sign-off. Three maps do most of the work. Base colour carries the approved palette. Roughness controls gloss, so polished plastic shines and worn cloth doesn't. A normal map fakes fine bumps, seams and pores without adding geometry. Skin often adds a subsurface layer, letting light glow softly through a thin ear. Texture is the costume fabric. Shading decides whether that fabric reads as satin or felt under a spotlight. Current practice for animation texturing in production pipelines follows that same split between painted detail and light response.A Sequence You Can Follow
- Lock base colour: Paint flat colour from the approved palette first.
- Add wear in layers: Build dirt, scratches and variation so each layer can be adjusted alone.
- Set roughness per material: Treat skin, cloth, metal and plastic separately.
- Test under three lights: Use a warm interior, cool daylight and a harsh single spot.
Keyframe, Motion Capture or Markerless Animation
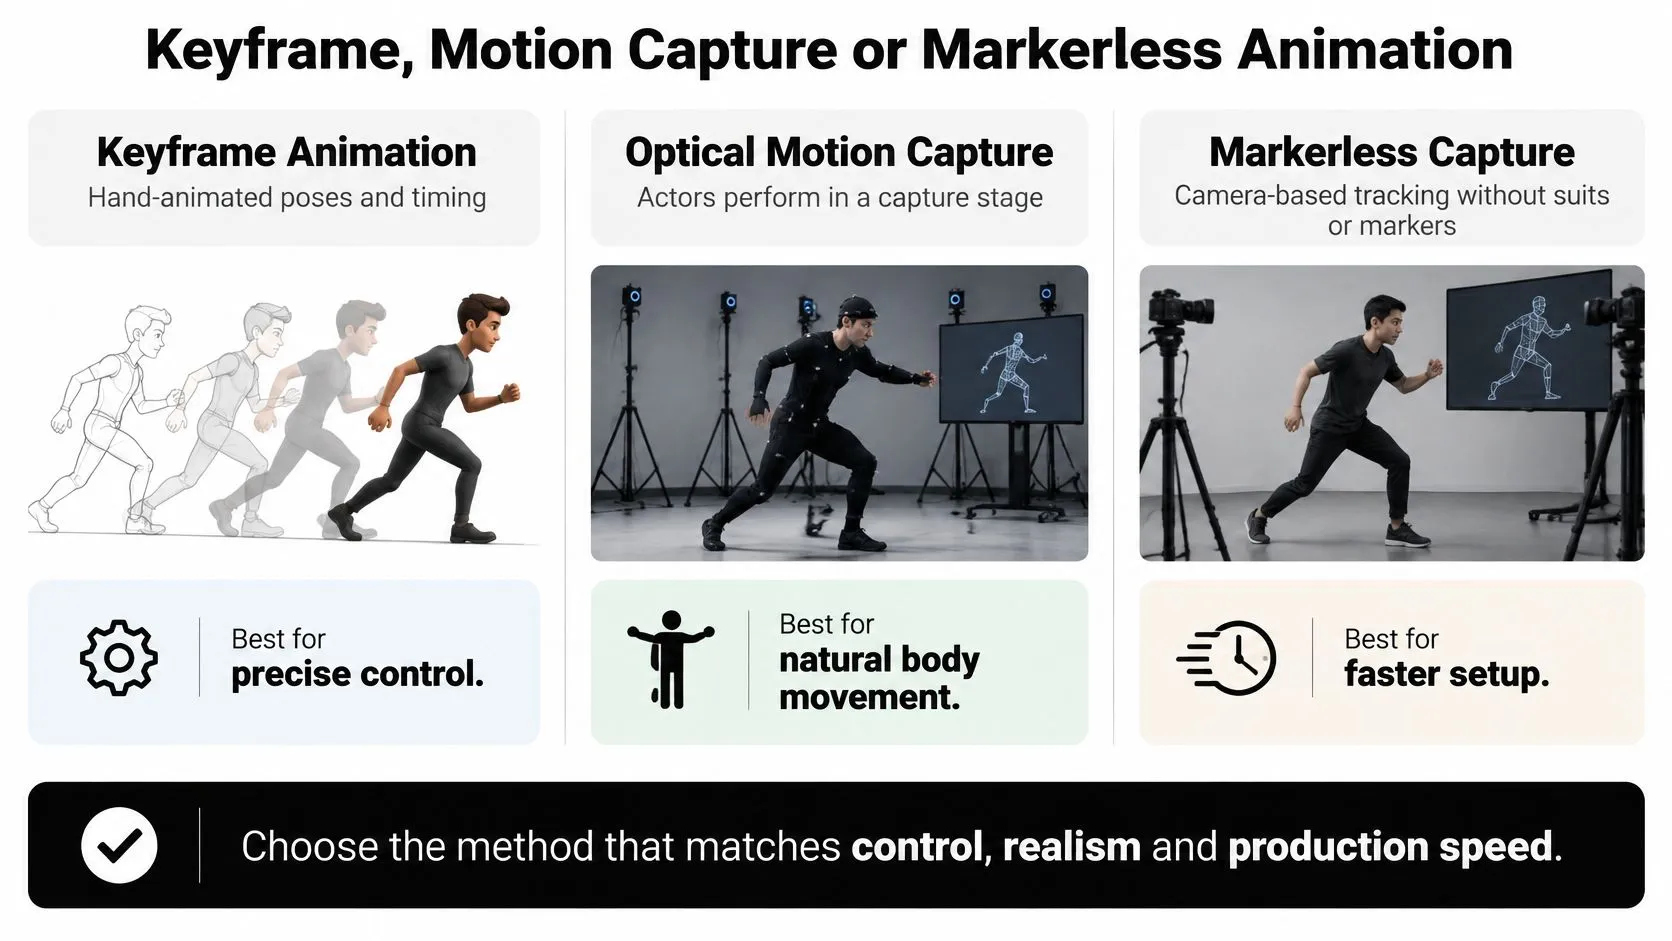
| Method | Best for | Trade-off | Main limit |
|---|---|---|---|
| Keyframe animation | Stylised, precise and exaggerated performance | Slow per shot, but full control | Depends entirely on animator skill |
| Optical motion capture | Realistic full-body performance | Needs a capture stage and clean-up | Captured motion needs cleaning and retargeting |
| Markerless capture | Previs, XR and quick prototypes | Commodity hardware and faster setup | Less precise on weight and contact |
| Facial capture | Expressive dialogue and close-ups | Separate subsystem with its own rig | Eye, mouth and cheek errors need manual fixes |
Treat the Face Separately
Facial performance is harder to track than body motion because expressions involve subtle, high-dimensional changes. The University of Manchester research showcase describes statistical face models and tracking algorithms that work in non-frontal views, work recognised with the IEEE Face and Gesture Conference Test of Time Award in 2015.- Choose shot by shot: Capture a run, keyframe a stylised reaction.
- Build facial controls as their own system: Don't bolt them onto the body rig.
- Validate on profile and three-quarter views: Frontal success hides side-view errors.
- Keep correction controls: Animators need direct control of eyes, mouth and cheeks.
Where 3D Characters Are Used and Why They Matter
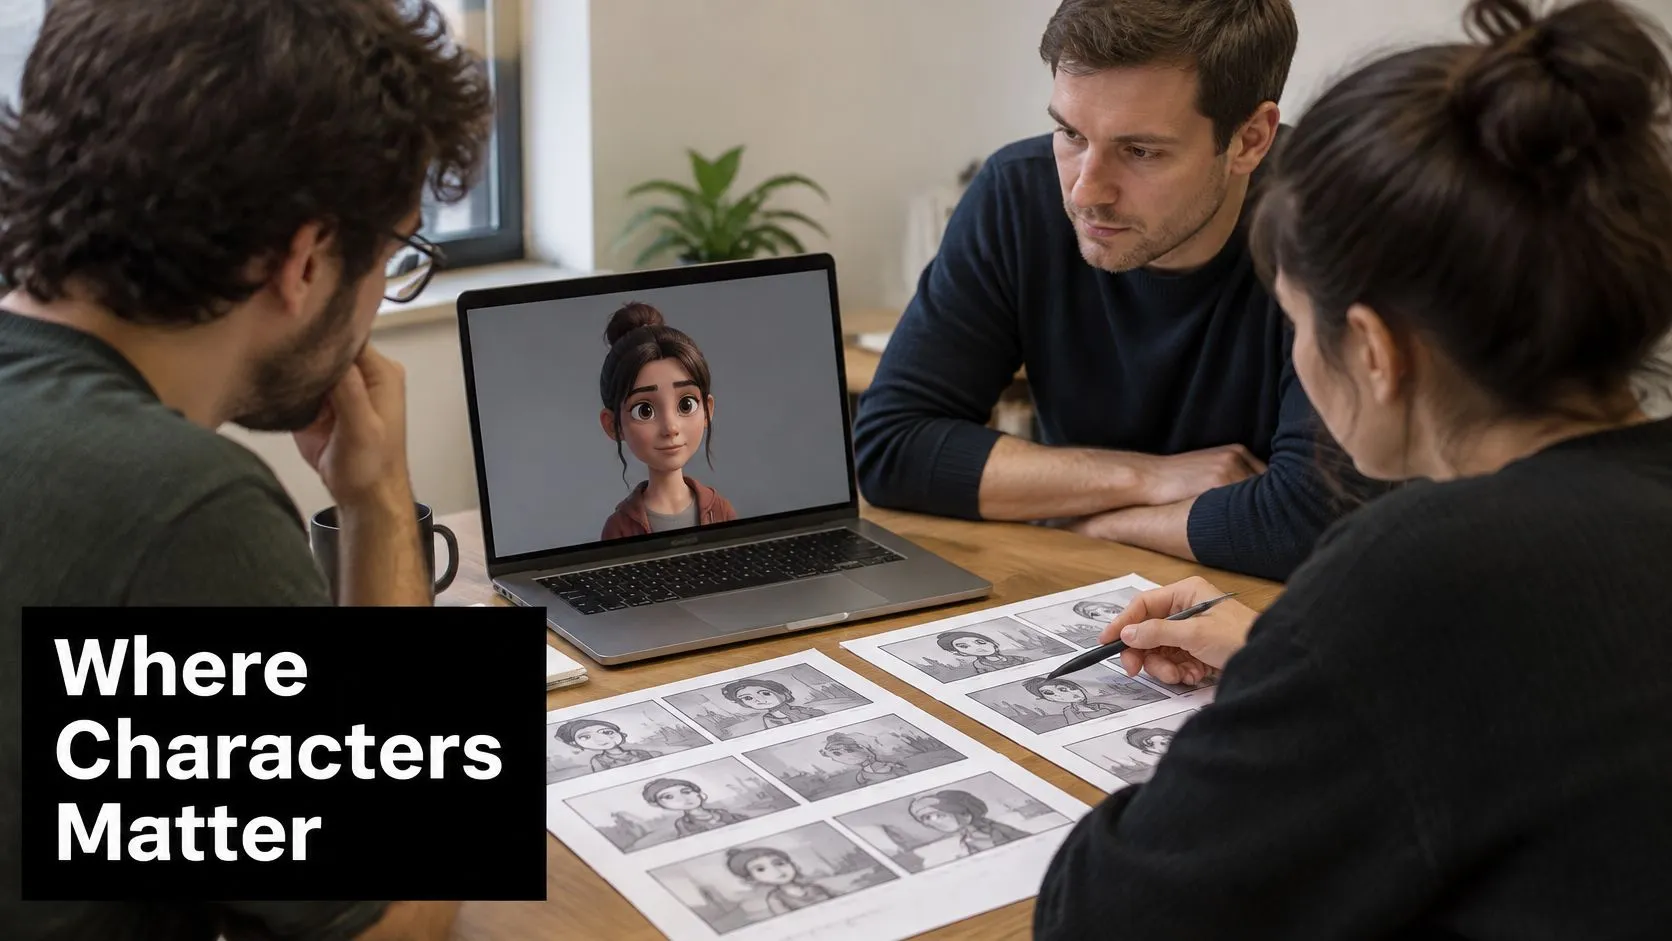 Different uses place different demands on the same puppet:
- •Children's TV series: Consistent rigs that survive episode after episode.
- •Advertising mascots: Shapes and faces that read at small sizes.
- •Games and XR: Light, responsive models that won't stall a headset.
- •Exhibition and museum guides: Clear gestures and readable expressions at a distance.
- •Educational apps and brand characters: Designs that travel across platforms without rebuilding.
Now challenge the usual assumption. More lifelike isn't automatically better, especially for children. Animation UK's written evidence to Parliament reports that children represent just under a quarter of the animation audience but receive only a small portion of funding, and recommends evaluating educational, cognitive and emotional impact rather than viewing figures alone.
A highly realistic character can hold attention while making commercial intent or misinformation harder for a child to recognise.
Disclose when a character is fictional or AI-assisted. Then test three questions. Which expressions, rewards and voices support learning without encouraging unhealthy attachment? How will you test with children within safeguarding and privacy expectations? How do accessibility and age-appropriate interaction change the design itself?
What Drives the Cost of a Character
Five factors move the price most, roughly in this order. Poses and shots come first. Every distinct pose adds rig testing, and every shot adds animation, lighting and review time. A character who waves costs less than one who dances, climbs and delivers dialogue in close-up. Rig complexity comes second. A full face, articulated hands, cloth and hair each add a subsystem with its own controls and quality checks. None of them is a small add-on. The render target comes third. A real-time character must stay light for an engine. A broadcast or film character is built for a render budget and an episode schedule, so artists can spend detail differently. Fourth is the motion method, since optical capture needs a stage plus clean-up and retargeting, while keyframe work is slower per shot but gives full control. Fifth is reuse. A rig built once for a series spreads its cost across episodes and platforms, while a one-off hero carries the full build cost alone. Revision cost rises at every stage. Ask for a cost band per stage instead of one total, so each sign-off carries a visible price.
Commissioning a Character Without Surprises
Use this checklist before you ask for any quote:
- Write the brief: Cover role, age range, platform, poses, shots and runtime.
- Ask for proof early: Request turnarounds and a test rig before the full build.
- Tie fees to sign-offs: Attach payments to named stages, not vague progress. That's consistent with managing scope and budgets in post-production, where agreed boundaries stop small changes becoming unpaid sprawl.
- Confirm ownership: Pin down who owns the character files and reuse rights.
- Ask about qualifying spend: Check how the studio documents eligible costs.