2D Animation Unity: Practical Workflow Guide for 2026
You've imported a character sheet, sliced the sprites and connected an Animator Controller. In the Editor, the character moves. On a target device, the joints look stiff, transitions snap, and a busy scene starts consuming CPU and memory faster than expected. That gap between a convincing prototype and a dependable production asset is where most 2D animation in Unity work becomes difficult. Unity's modern 2D stack gives artists and developers more control than a simple flipbook workflow. Skeletal rigs, inverse kinematics, Sprite Swap, skins, Timeline, lighting and hybrid 2D/3D rendering can support games, interactive learning, branded content and XR-adjacent experiences. They also introduce decisions about rig structure, state design, texture organisation and platform budgets that beginner tutorials often skip.
Why Modern 2D Animation in Unity Is Different
A flipbook is still useful. It's quick to prototype, easy to understand and often the right choice for a small effect, a looping background element or a deliberately frame-by-frame performance. The trouble starts when a character needs to turn towards a moving object, respond to physics, carry equipment, change costume or blend between several actions. Each new variation adds more baked frames, more imported textures and more animation clips to maintain. A skeletal workflow changes that relationship between art and movement. The artist builds a mesh, places bones and paints weights, then the Animator can reuse that structure across idle, walk, jump and interaction states. Unity's 2D documentation highlights skeletal animation, inverse kinematics, Sprite Swap and skins as central parts of its production pipeline, alongside the Sprite Editor, Skinning Editor, Animator and Animation Controller (Unity's guide to animation for 2D projects).
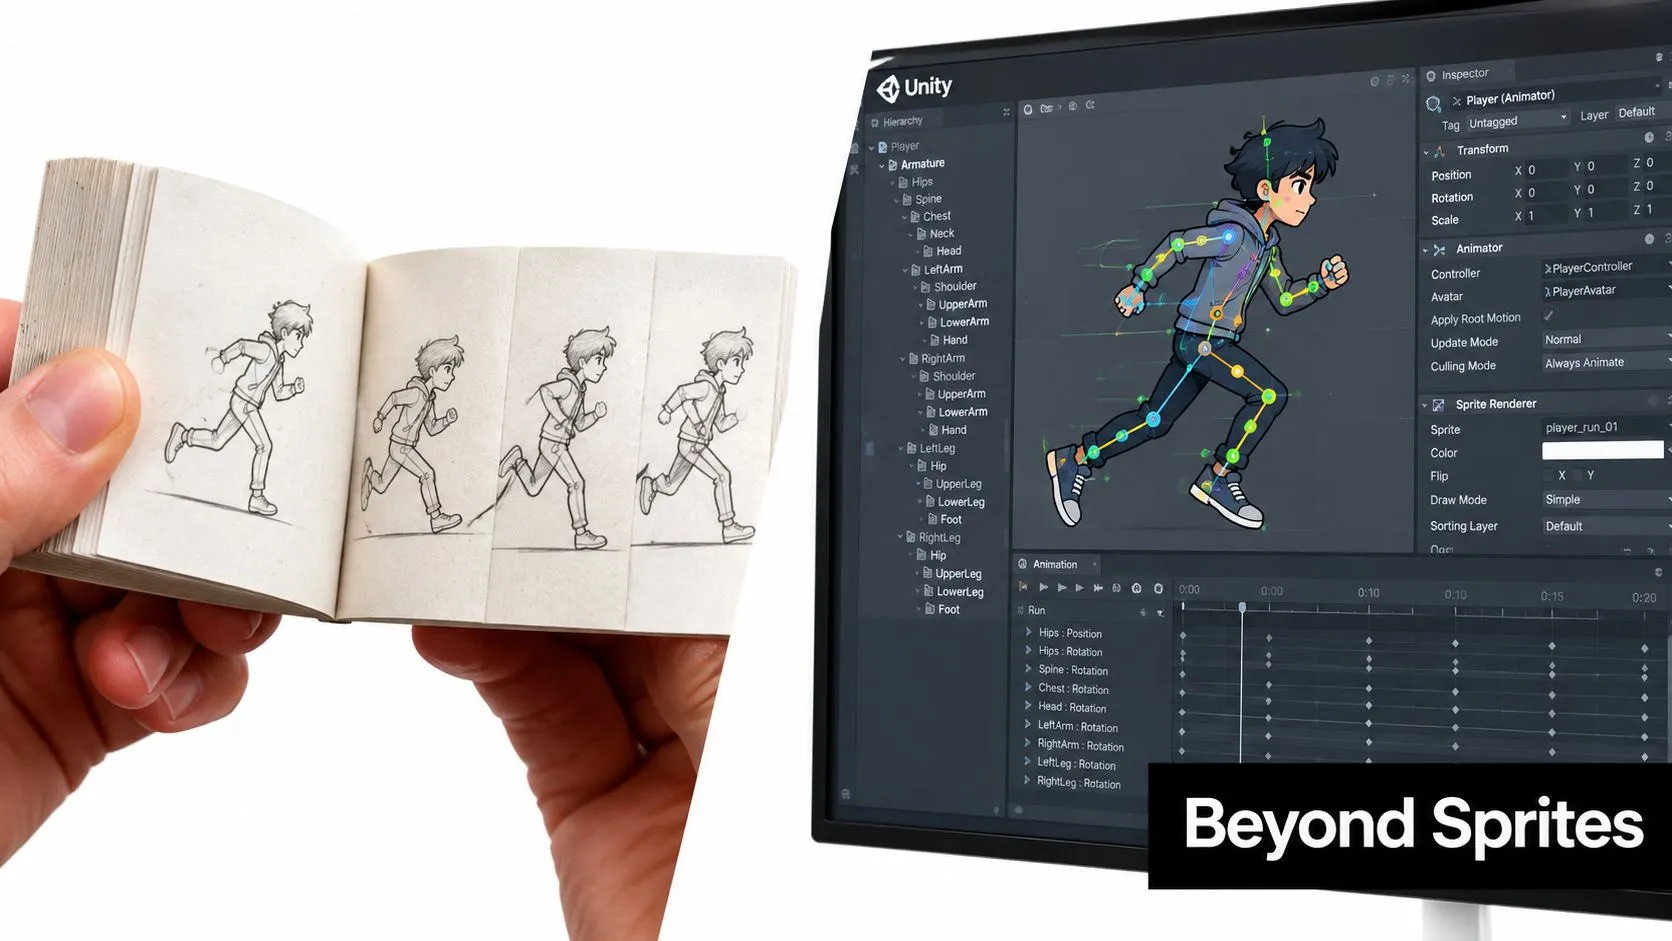
That doesn't make skeletal animation automatically cheaper. A poorly weighted rig can look worse than a well-made sprite sequence, and every extra bone, skinned mesh and runtime calculation needs profiling. The advantage appears when the project needs reusable motion, responsive posing and controlled variations across many interactions.
The practical difference
Consider a learning application with a character pointing at diagrams. A flipbook may cover one fixed gesture. A rig can let the arm reach towards several targets, while the body and facial elements remain independently controllable. The same approach suits interactive games where the player can interrupt an action or combine locomotion with an upper-body movement. Art direction still matters. Motion blur, smear frames and hand-drawn exaggeration can give a rigged character the energy of traditional animation. Looking at references such as art with motion blur effect can help the art team define where a deliberately blurred or stretched pose should be authored as a texture, rather than left to runtime deformation. The strongest Unity projects usually combine methods. Use skeletal animation for repeatable body motion, frame-based clips for impact moments and shader or lighting work for atmosphere. Don't choose a technique because it's fashionable. Choose it because it gives the team the required control without making the asset difficult to debug, optimise or hand over.
Setting Up Sprites and Rigging Bones
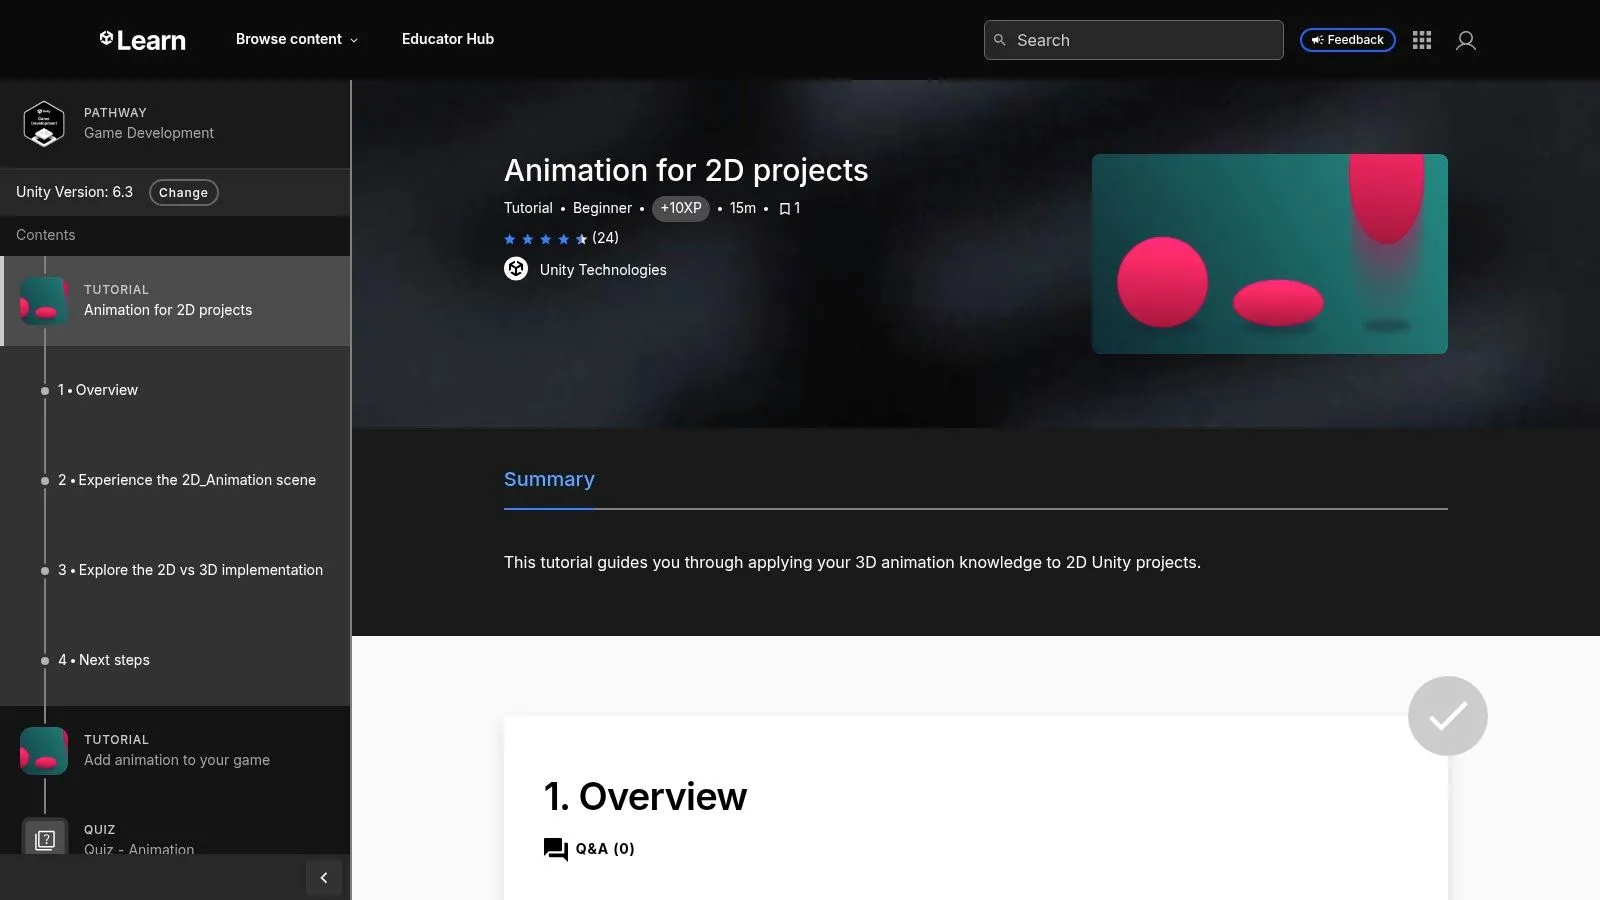
Rigging problems rarely begin in the Animator. They begin with an imported sprite that has the wrong pivot, inconsistent scale, unclear naming or a mesh that doesn't follow the character's intended bends. Fixing those issues after animation has started is expensive because every downstream clip inherits the mistake. Start by defining an import convention. Keep source artwork organised by character and body region, use predictable names for sprites and decide whether the project uses pixels, physical units or another consistent scale. In the Sprite Editor, check the texture type, slicing method, pivot placement and borders before opening the Skinning Editor. A technically valid import can still produce bad animation if the feet, hands or attachment points don't share stable pivots.
Build the rig around movement
Create the bone hierarchy according to how the character moves, not according to the order in which the artwork was drawn. A leg typically needs a clear relationship between the pelvis, thigh, shin and foot. A face may need separate controls for eyes, brows and mouth rather than one deforming surface. Name bones for their function and side, such as `arm_left` and `arm_right`, so programmers and animators can identify them without opening every asset. The Skinning Editor's automatic mesh generation can save time, but it's only a starting point. Inspect the vertices around shoulders, elbows, knees and fingers. Add or remove geometry where the silhouette needs controlled deformation, then paint weights so one region doesn't pull neighbouring artwork into the bend.
Practical rule: If a joint needs to fold sharply, give it enough geometry to describe the fold and enough weight separation to stop the nearby mesh collapsing.
Test the rig in extreme poses before producing polished clips. Rotate the limbs beyond their normal range, move the head independently and check that accessories remain attached. Vertex bleeding often comes from overlapping artwork or weights that extend across an unintended boundary. Fixing it in the mesh is better than hiding it with a corrective animation on every clip.
Prepare for handoff
Use a stable hierarchy for control bones, deform bones and attachment points. Keep Sprite Swap variants aligned to the same logical structure where possible, because costume changes and alternate expressions become unreliable when each replacement sprite uses different assumptions. For a deeper explanation of how this approach supports reusable character work, see what skeletal animation is and how it powers modern production. The useful test isn't whether the first pose looks good. It's whether another team member can open the asset, understand the hierarchy and create a new action without rebuilding the rig.
Animator and Timeline Integration
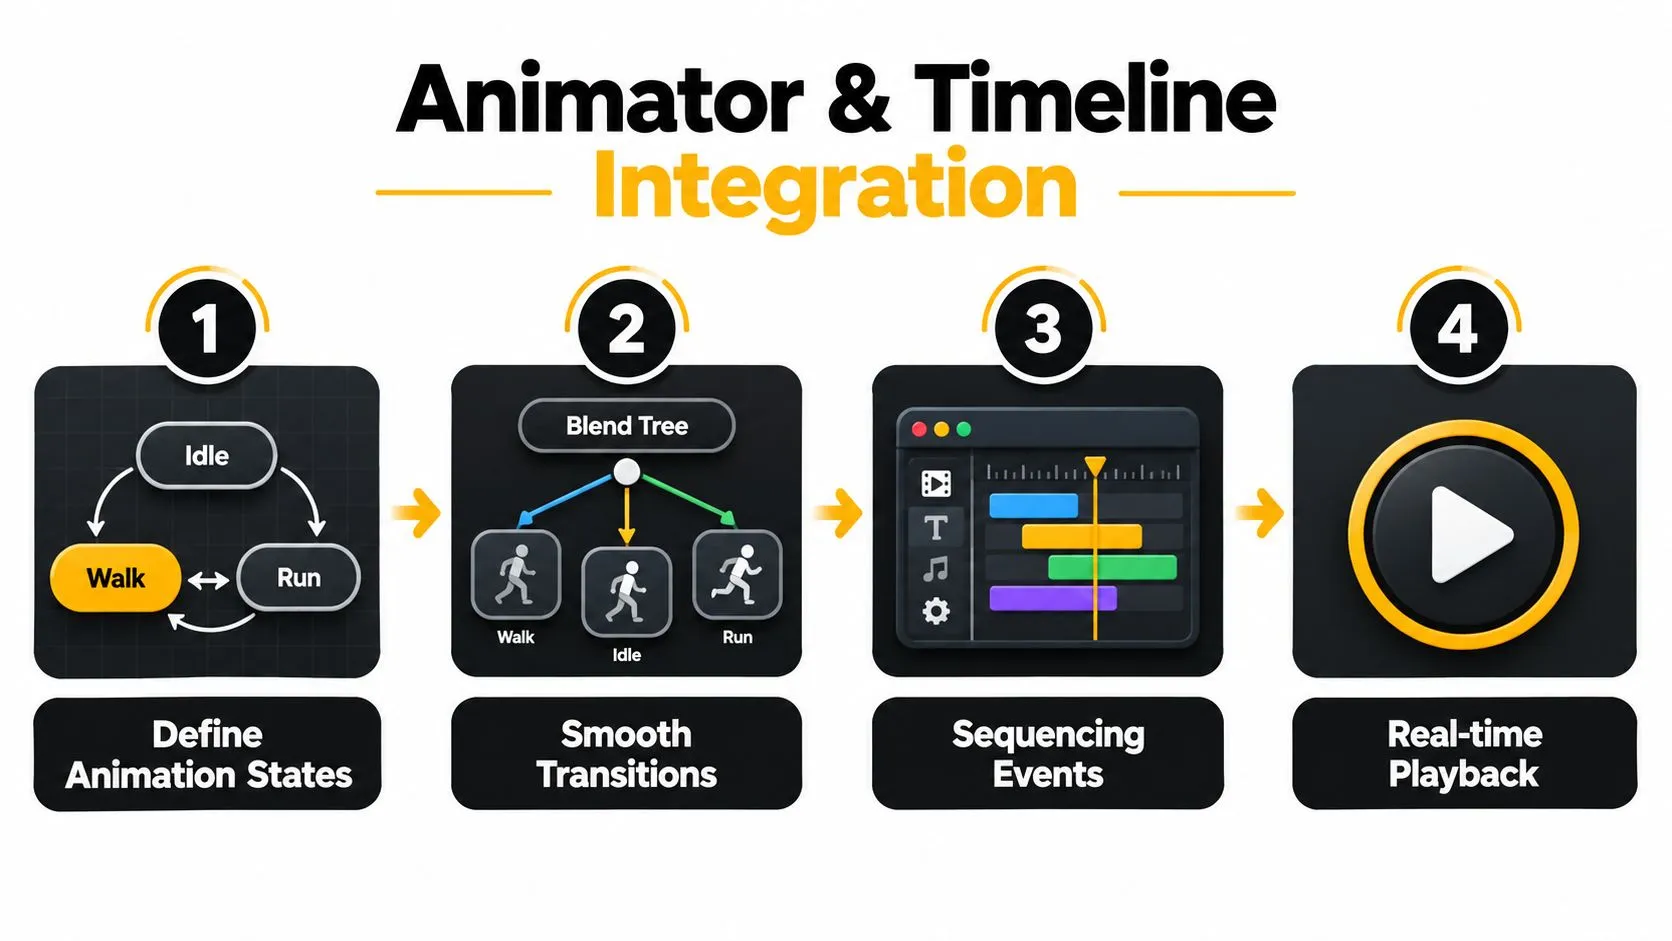
The Animator Controller should describe decisions, not become a maze of one-off clips. Start with the states the character genuinely needs, then define the parameters that change those states. A locomotion setup might use a speed value, while a Boolean can control whether the character is carrying an object or has entered a special interaction mode. Avoid adding parameters for every tiny variation. Excessive state logic makes behaviour difficult to reproduce and harder to test. Blend Trees work well when movement varies continuously. They're useful for blending idle, walk and run based on speed, or for combining directional motion where the art supports it. They're less appropriate for authored events such as a precise handover, a facial reaction tied to dialogue or a staged impact. Those moments need explicit timing and often deserve their own state or Timeline track.
Choose the movement owner
Root motion and script-driven movement solve different problems. Root motion can make an authored stride feel consistent with the distance travelled, but it can also complicate collision, network synchronisation and gameplay interruption. Script-driven movement gives the game systems authority over position, while the animation presents the result. For a controllable character, gameplay usually owns location and animation responds to velocity or state. For a tightly directed cinematic, the animation or Timeline can own movement because visual timing takes priority. Mixing the two without a clear rule creates foot sliding, teleports and confusing corrections. Timeline is the better tool when several systems must land on the same moment. A cutscene can coordinate animation clips, camera movement, dialogue, sound cues and activation of scene objects in one readable sequence. Record curves directly where the timing belongs, then keep reusable character behaviour in the Animator rather than duplicating it inside every cinematic. Audio triggers deserve the same discipline as animation events. Put them on an appropriate track or event, name them clearly and test what happens when the sequence is skipped, paused or replayed. A production sequence must behave correctly outside the happy path. The Unity game development guide from start to finish is useful context for treating animation as part of a complete build rather than an isolated Editor task. Professional integration means the character still behaves correctly when input, camera logic, audio and deployment constraints enter the scene.
Optimising for Mobile and WebGL
Skeletal animation can reduce the amount of authored frame artwork, but it doesn't remove runtime cost. A UK dissertation benchmarking Unity for 2D mobile games found that, in repeated 90-second level tests, Unity used more CPU than the alternative engine, reaching about twice the CPU use in some scenarios, while also increasing RAM pressure and battery drain (the Unity 2D mobile game benchmark dissertation). That result shouldn't be treated as a universal prediction for every project, but it's a clear warning against assuming that a visually simple 2D scene is automatically cheap. Profile a representative scene, not an empty test level. Include the busiest character count, lighting, particles, UI, physics and camera behaviour. Look at CPU time, allocations, rendering batches and memory on the actual target class of device. WebGL needs the same discipline because browser memory and loading behaviour can expose problems that remain hidden in the Editor.
Reduce work where it matters
Keep the rig proportionate to the performance requirement. A background character doesn't need the same articulation as a hero character, and a decorative prop may work better as a simple transform animation or flipbook. Reduce unnecessary bones, avoid updating off-screen actors and stop animation systems that no longer contribute to the frame. Texture organisation matters as much as bone count. Use atlases deliberately so sprites can batch without creating excessive texture waste. Watch for fragmentation caused by inconsistent dimensions, filtering requirements or unrelated assets being packed together. A large atlas can reduce state changes, but it can also increase memory use if it forces small assets to load alongside content that isn't needed. Animation quality can survive aggressive optimisation if you preserve the right poses. Remove redundant keys from curves, simplify subtle motion on distant characters and reserve detailed secondary movement for moments the player can clearly see. For web builds, test first-load memory and scene transitions as well as runtime frame pacing. A practical pass usually follows this order:
- •Measure the scene: Capture a device profile before changing assets, so the team knows whether the bottleneck is animation, rendering, scripting or memory.
- •Cull invisible work: Disable or simplify characters outside the camera and stop repeated updates that have no visible result.
- •Simplify by role: Give hero, supporting and background characters different rig and animation budgets.
- •Re-test interactions: Check swaps, IK, Timeline playback and interruption logic after every optimisation pass.
The goal isn't the lowest possible bone count. It's a stable experience in which the audience notices the performance and emotion of the animation, not the calculations behind it.
Creative Direction and Style Trends
A technically efficient character can still feel generic. UK-facing animation coverage for 2026 points towards intentional imperfection, visible texture, motion collage and hybrid 2D/3D looks (UK 2D animation trends for 2026). That direction changes the pipeline decision. The team must decide early whether rough edges belong in the source artwork, in compositing, through shaders or in a controlled combination of all three. Pure 2D remains a strong choice when the brand depends on graphic clarity, hand-drawn line quality or a deliberately limited visual language. It can also keep the art direction coherent across interactive lessons, menus and short-form content. The risk is treating a flat visual style as permission to ignore lighting, depth and motion design. Without careful staging, the result can look lifeless even when the rig works perfectly.
When hybrid earns its complexity
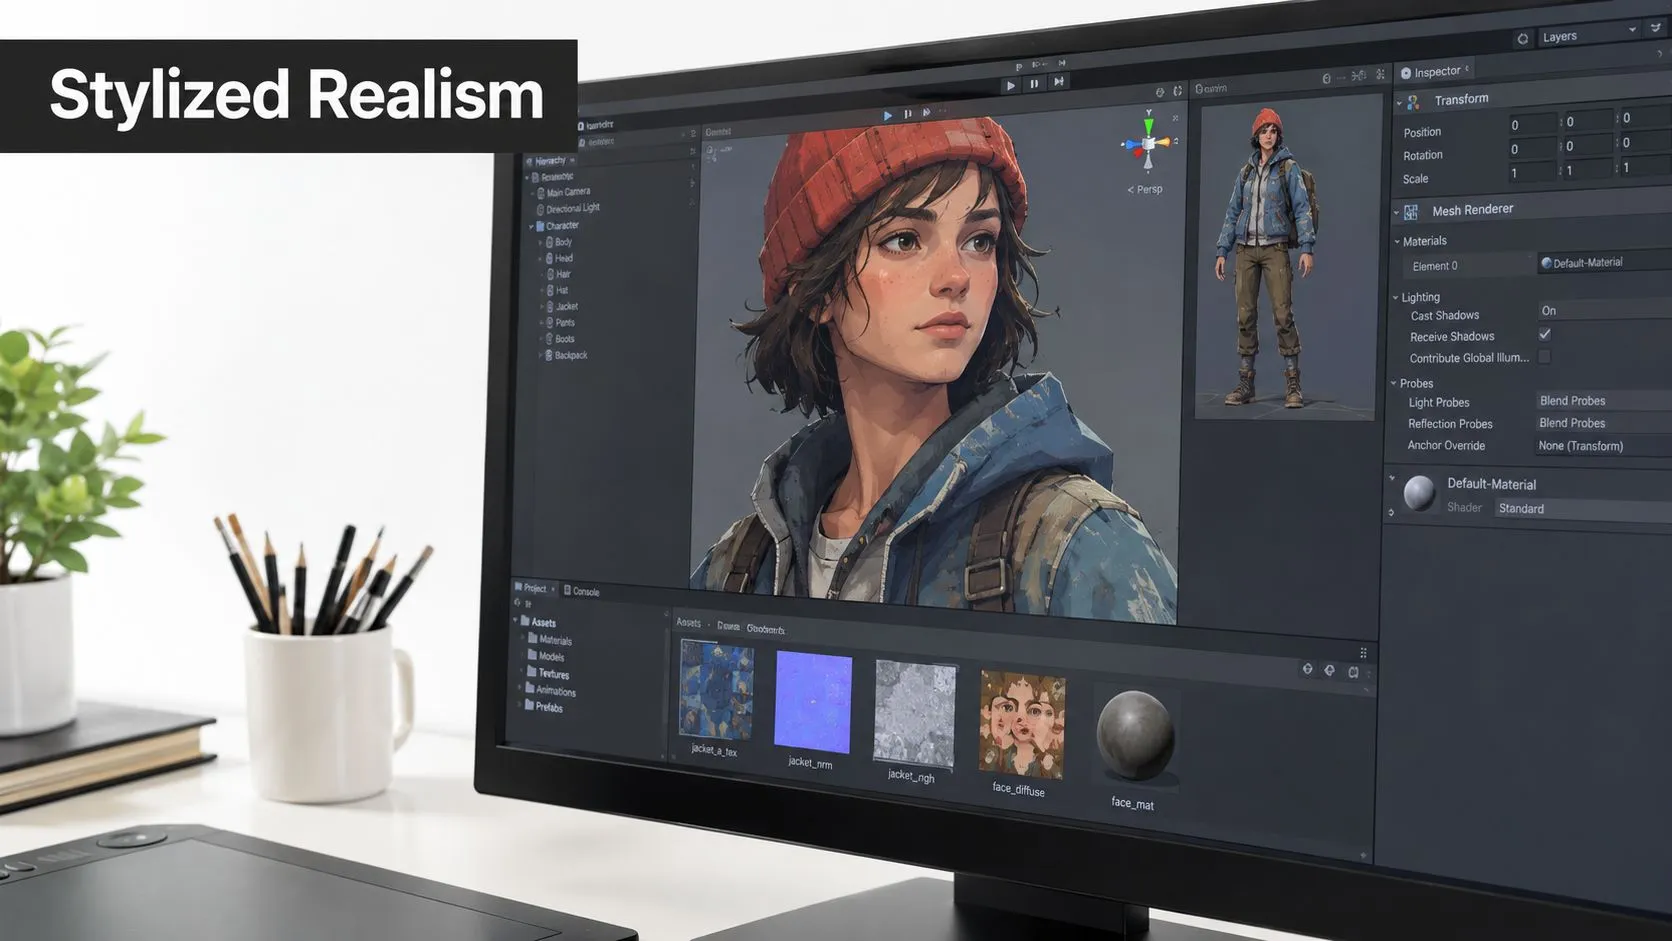
Unity's current 2D materials describe lighting, shadows and VFX workflows, while Unity 6.3 LTS supports unified lighting and sorting for bringing 3D characters and elements into a 2D project (Unity's 2D feature overview). That makes hybrid work practical for projects that need a 2D emotional language with selective depth, volumetric atmosphere or 3D camera movement. The key word is selective. A 3D element should solve a creative or production problem, such as a camera move that would be expensive to fake, a prop that needs to rotate freely or a lighting effect that gives the scene stronger spatial separation. Adding 3D everywhere because the engine supports it creates asset, shader and QA overhead without guaranteeing a better image.
Style should drive the technical brief
Start with audience and delivery context. An educational character may need readable gestures and restrained visual noise. A branded experience may benefit from tactile texture and imperfect timing that feels authored rather than automated. An XR-adjacent project may need depth cues that a pure sprite stack can't communicate reliably. Teams are increasingly spending creative attention on pacing, emotional timing and narrative clarity rather than polishing every surface. That doesn't mean polish is irrelevant. It means the pipeline should protect the moments the audience reads first, such as a pause before a reaction, the shape of a silhouette and the rhythm of a repeated action.
Building Your Production Pipeline
A production-ready Unity pipeline begins before the first animation clip. Define target platforms, delivery formats, interaction requirements, art references, approval owners and the moments that must remain editable. Those decisions determine whether the project needs frame-by-frame sprites, a reusable rig, Timeline authoring or a hybrid workflow. In Unity 6.x, that choice also affects CPU time, memory use and the amount of integration work required later. A small team can lose days to undocumented handoffs. Animation UK reports around 1,000 direct jobs in the core animation industry and 15,390 jobs when wider value-chain effects are included. It also reports that 52% of workers are freelance, 93% hold a degree and 26% are postgraduates (Animation UK's workforce data). Projects may pass between freelance specialists, animators, technical artists and developers, so naming conventions, rig ownership and export rules need to be written down.
Make collaboration explicit
Keep source artwork, imported assets, rigs, clips and controller logic in predictable folders. Use version control for text-based Unity assets where practical, and assign ownership of rig changes. A programmer changing bone names can break animation bindings and gameplay attachments. An animator changing a pivot can invalidate collision, sockets or code-driven positioning. Automated checks catch simple failures before review. Validate required bones, Sprite Swap naming, resolved animation references and Timeline tracks without missing objects. Run short test scenes that cover interruption, looping, disabled objects and scene reloads. Profile representative scenes as soon as integration begins. A rig that feels cheap in the editor can consume substantial CPU during skinning, animation evaluation and repeated state changes, while large texture sets increase RAM pressure on mobile and WebGL. The commercial context rewards repeatable systems. Animation UK cites about 3,412 enterprises, £1.572 billion in turnover and approximately £970 million in GVA in 2023 ONS-linked figures for the broader post-production classification. Government policy has also supported a sustained production base. Animation Tax Relief was introduced in April 2013, and HMRC/DCMS recorded 65 programmes, £110.3 million of UK expenditure and £158.6 million of total expenditure across completed projects by July 2016 (the HMRC and DCMS creative industries commentary). For a real project, the handoff runs from brief to concept art, rig test, blocking, integration, profiling, stakeholder review and deployment. Studio Liddell's guide to the animation production pipeline provides a useful reference for organising that journey. Studio Liddell works across 2D and 3D animation, games and XR, including Unity-based real-time production. Studio Liddell can design, rig and integrate 2D animation in Unity for games, interactive learning, branded content and XR experiences. Its work can include Timeline setup, reusable assets and target-platform performance checks. Visit Studio Liddell to discuss a brief and plan the route from artwork to deployment.