What Is Motion Blur: A Guide to Cinematic Effects
You're looking at a shot that feels almost right, but not quite. A car wheel spins, a hand sweeps across frame, or a camera pan turns into a jagged blur of separate poses, and the whole image starts to look mechanically stiff. That mismatch is usually where motion blur enters the conversation, because our eyes expect moving things to smear in a very specific way when they pass through a frame. In production, that matters far beyond making footage look “cinematic”. Motion blur can make animation feel alive, it can make VFX composites sit more naturally inside live-action plates, and it can also hide detail you need to keep sharp. The tricky part is that people often talk about it as if it's one simple effect, when in practice it sits inside the camera, the renderer, the compositor, and sometimes the game engine all at once.
Why a Spinning Wheel Looks Strange on Screen
A wheel that seems to reverse direction on camera is a classic reminder that your brain is filling in gaps between frames. The wheel isn't really going backwards, the frame timing and shutter timing are just not delivering the smear your visual system expects. That's why a fast pan can look like a slideshow of separate positions instead of a single continuous move.
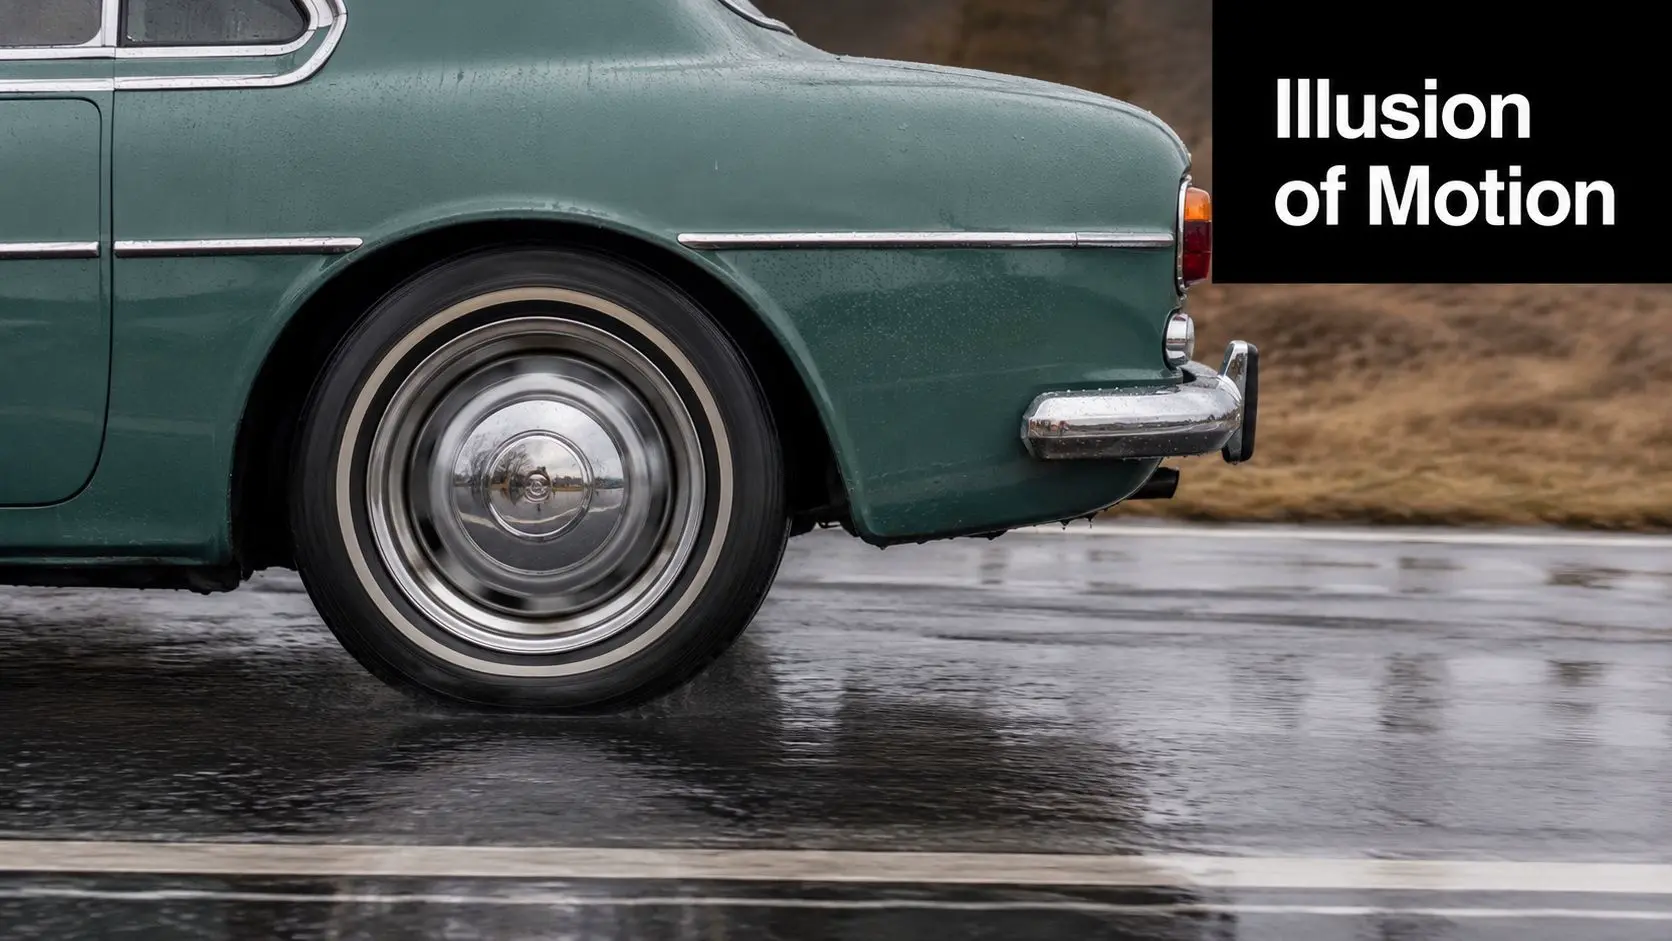
Motion blur appears when an object shifts during a single exposure or frame interval rather than being captured as a frozen instant, which is why the effect is tied to how long the shutter is open or how motion is integrated across frames. Motion blur in media) is a useful technical anchor here, because it separates the moving subject from the recording window that catches it.
The missing ingredient in fast motion
What looks “wrong” on screen is often not the movement itself, but the absence of the right amount of smear. A spinning wheel, a quick arm swing, or a whip pan all need a trace of movement across the frame to feel natural. Without that, motion can read as stepped, nervous, or oddly artificial. That's why motion blur is better thought of as a perceptual fix than a decorative extra. It helps a viewer read what's moving, how fast it's moving, and whether the image is supposed to feel grounded or stylised. A handy internal reference for the broader visual pipeline is this guide to 3D computer graphics for modern businesses, because motion blur sits inside that same production logic. Once you start seeing it that way, the effect stops being a mystery and becomes a controllable part of image design.
Practical rule: if motion feels too abrupt, check the exposure window before blaming the animation.
What Motion Blur Actually Is
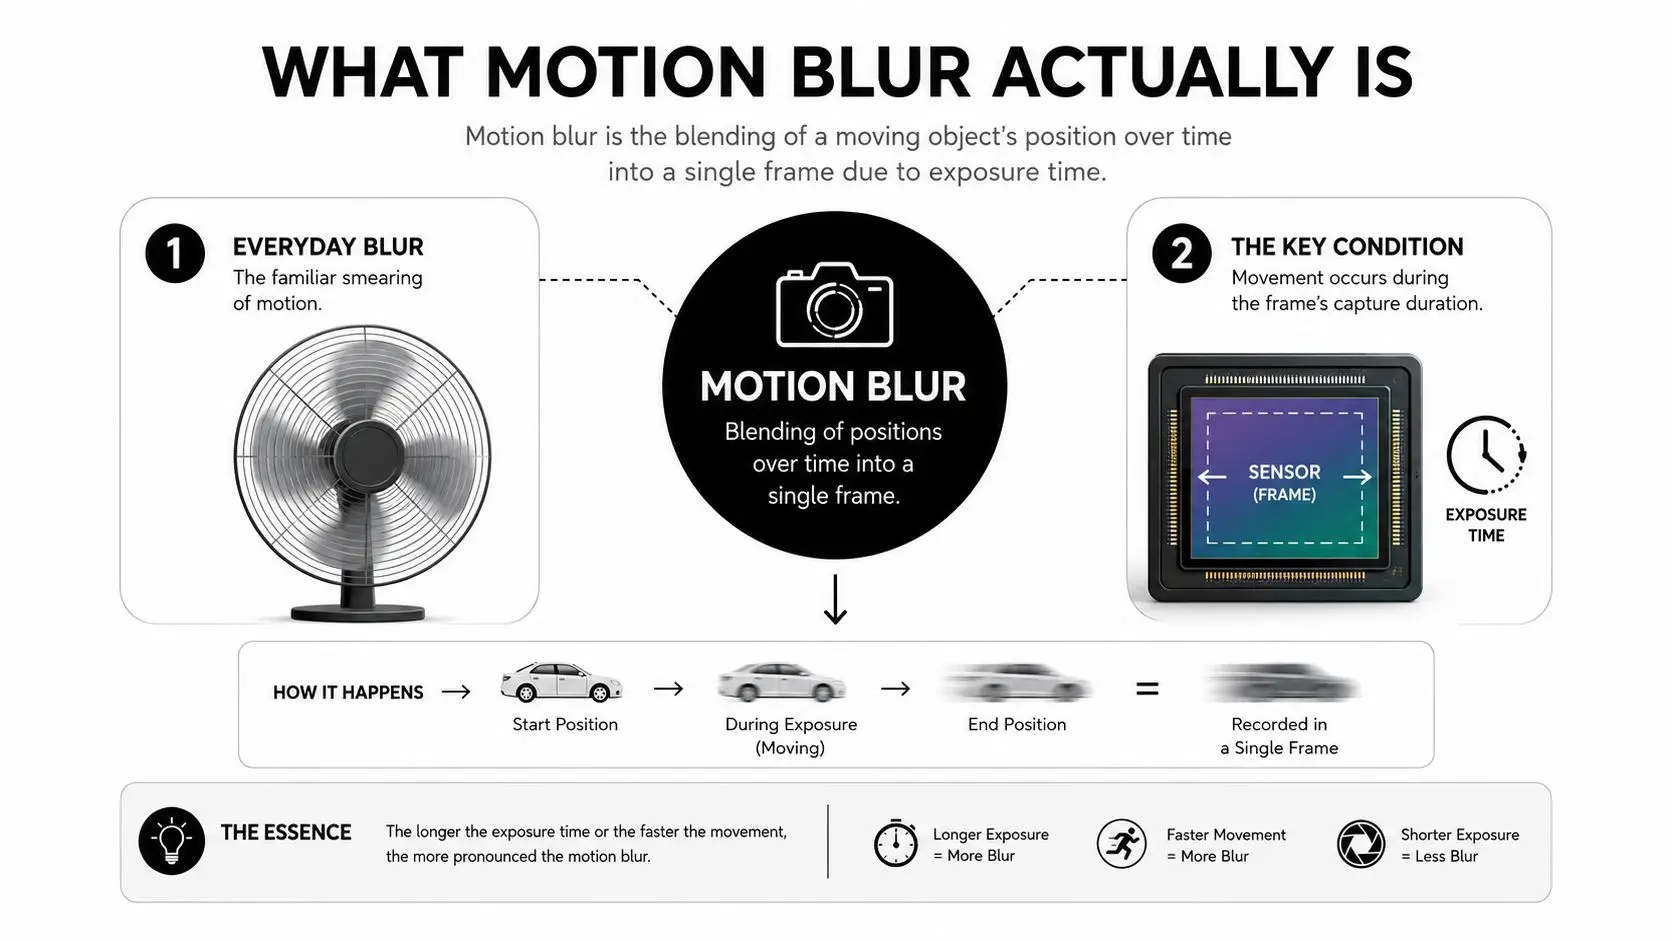
At its simplest, motion blur is the blending of a moving object's positions into one frame while the camera, or renderer, is still recording. A fan blade doesn't become a smear because the object itself changes shape, it smears because the image is integrating several positions into one sample window. That's the key point, motion blur is about time, not just speed.
The torch-in-the-darkroom test
Wave a torch in a dark room and take a slow exposure. The torch doesn't appear as one crisp point, it leaves a streak because its position changes while the sensor is still gathering light. The same logic applies to a rendered frame, if the image is built from a motion window rather than a single frozen instant. That's why motion blur is tied to exposure time and integration time. In photography, the camera shutter defines the window. In CGI, the renderer or engine decides how motion gets averaged across the frame.
Why the same idea works in cameras and renders
Once you understand the torch example, the rest is easier to read. If the recording window is short, you get cleaner edges and more staccato motion. If the window is longer, you get more smear, and that smear can either help the image feel natural or damage clarity. This is also where a lot of confusion starts. People often talk about blur as if it's a look you apply after the fact, but in many pipelines it's created during capture or during render. When teams use Streamline video production with artificial intelligence, they still need to understand that blur lives in timing decisions, not just in finishing tools.
Motion blur is not a filter first, it's a time sample first.
Real Camera Blur Versus Computed Blur
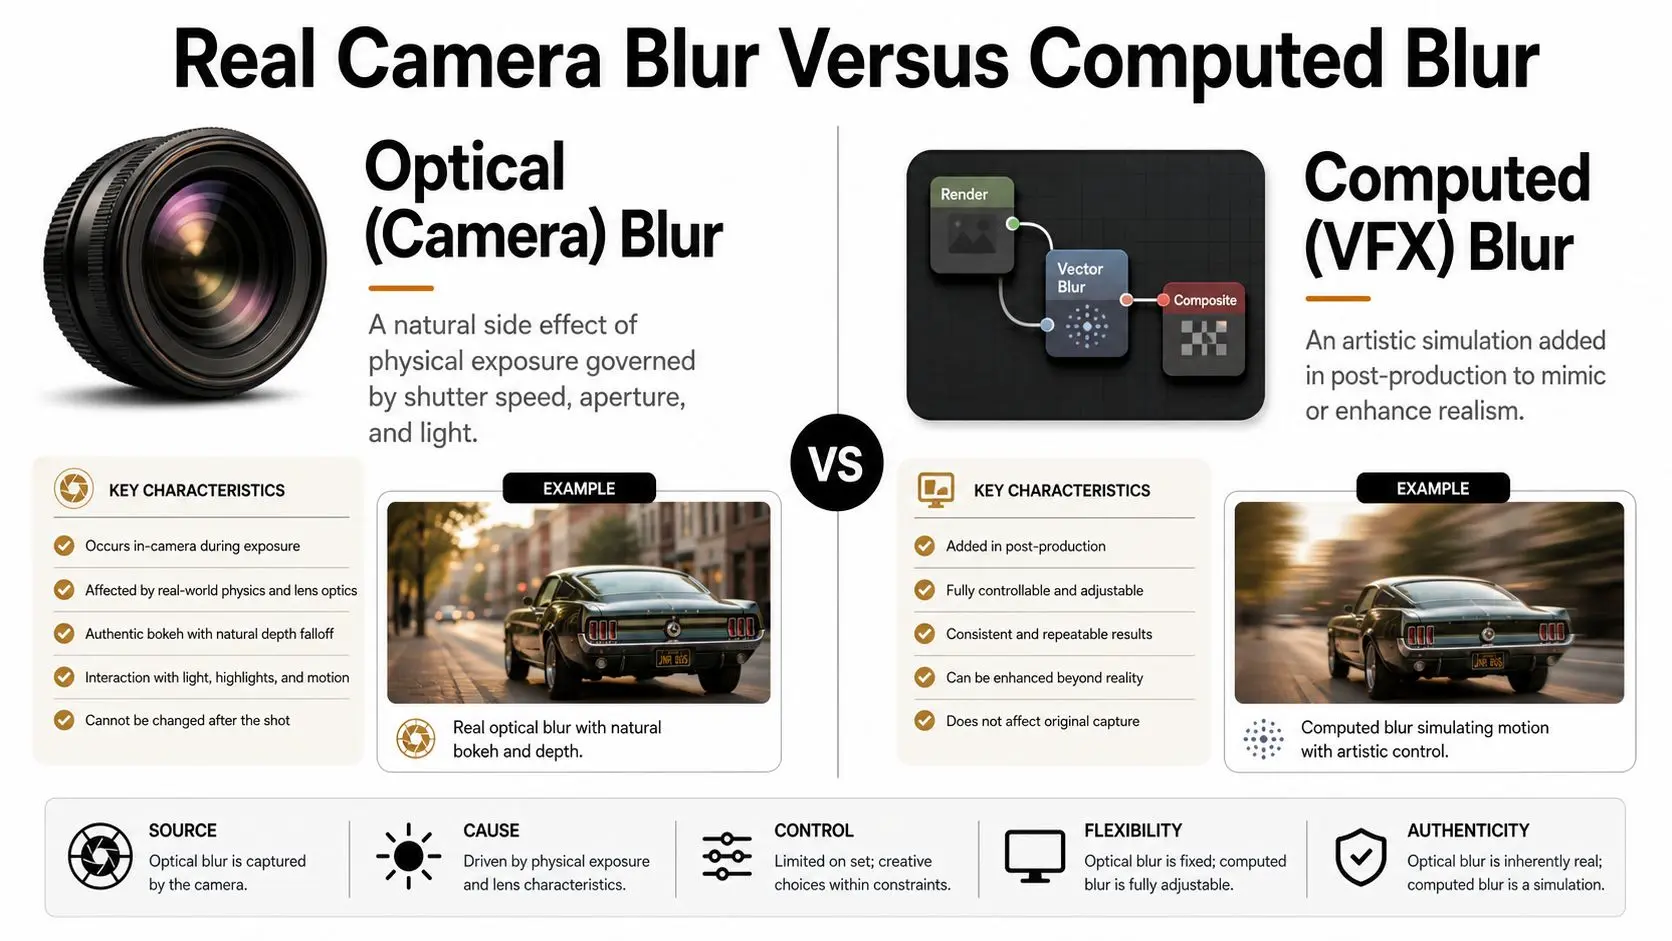
There are really two families of motion blur, and mixing them up causes a lot of production mistakes. Optical blur comes from a physical camera's exposure, while computed blur is created in software to imitate or enhance the same visual behaviour. They solve the same visual problem, but they live in different parts of the pipeline.
Optical blur from the camera
On a real camera, blur is governed by shutter speed, aperture, and light. In UK-style capture, the 180-degree shutter rule is the standard baseline for natural motion blur, so 25 fps uses about 1/50 s and 24 fps uses about 1/48 s. That works because the camera integrates motion over the exposure interval, which gives moving subjects a smear the eye reads as natural. If the shutter goes much faster, motion can feel too sharp and staccato. If it goes much slower, the smear can start to dominate detail and make the image harder to read.
Computed blur in VFX and animation
Computed blur does the same job in software, but it's more flexible. A renderer, game engine, or compositor can blur per object, per pixel, or across several sub-samples of motion. That means you can push blur further than a camera ever did, or isolate it only where you want it. The trade-off is cost and control. Optical blur is baked into capture. Computed blur needs extra processing, whether it's happening in the render farm, inside a compositor, or in a real-time engine that's already fighting for frame budget. For a practical production comparison, the 3D animation software overview is a good reminder that tools shape how blur gets handled. In one pipeline, it's a camera choice. In another, it's a render setting. In a third, it's a post-process pass.
Algorithms and Tools Behind the Effect
The software side of motion blur isn't one thing, it's a set of methods that all approximate motion across time. In offline CGI, the cleanest approach is accumulation, where the renderer samples motion over a frame and blends those samples together. In real-time engines, the process is usually cheaper and more selective, relying on velocity data. In compositing, teams may reconstruct blur from the plate using motion vectors or optical flow.
Three common ways software builds blur
- •Accumulation rendering: the scene is sampled multiple times during one frame, then blended into a final image. This is common in offline CGI because it follows the idea of exposure directly.
- •Velocity-based blur: engines read per-pixel or per-object motion vectors and stretch the image along the direction of travel. This is common in real-time work because it's faster than rendering many sub-frames.
- •Post-process reconstruction: tools infer motion from a single plate and create blur after the fact. This is useful when the source footage didn't capture enough blur, or when a composite needs to match other material.
Tools producers actually encounter
In a studio workflow, Maya and Blender often handle animated motion at the scene level, After Effects and Boris FX come in during compositing, and Unreal or Unity handle real-time motion passes. A useful way to think about settings is simple. Offline CGI might use a wider shutter angle and several motion samples, while real-time work may cap blur more aggressively to stay responsive.
If a shot is for final-frame render, let the renderer earn the blur. If it's for live interaction, keep the blur cheap enough to hold the frame rate.
For teams comparing pipelines, the Seedance 2.0 guide is a worthwhile adjacent read because AI-assisted production still has to respect how motion is sampled and finished. The technique changes, but the timing problem doesn't.
Choosing Motion Blur Settings in Animation and VFX
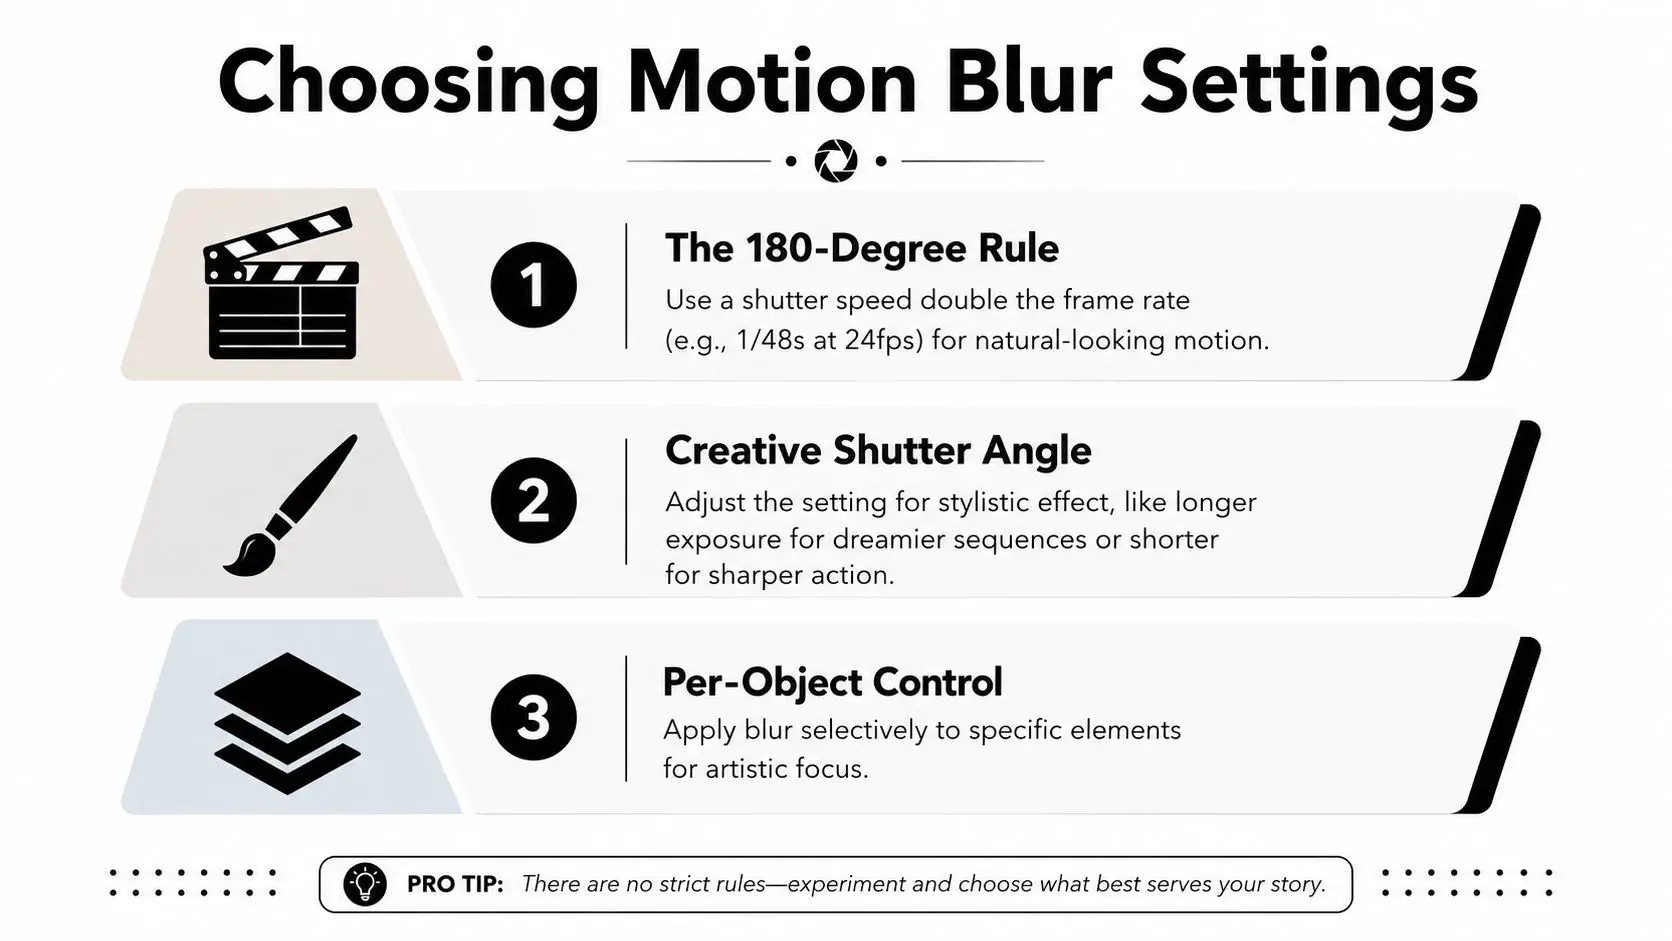
A shot can look technically correct and still feel wrong if the blur is set without checking the intent. The 180-degree shutter rule gives the starting point, as covered earlier, and from there the job is to adjust the amount of smear to suit the scene. If the motion reads too crisp, the setting may be too tight for the style of the shot. If everything feels muddy, the blur may be doing too much of the work for the animation.
How to push the look
A faster shutter reduces blur and gives motion a harder edge. That helps when a fast action beat needs to stay legible, or when a prop, logo, or facial expression must remain easy to read. A slower shutter increases blur and softens the frame, which can suit a dreamlike or stylised moment, but it can also erase detail the audience needs to follow. The choice is rarely about blur on its own. It is about what the viewer must understand in that frame. CG characters usually need to match the live-action plate around them, not the other way around. If the plate already carries natural blur and the CG element is too crisp, the composite can feel pasted on. If the CG element is blurred too heavily, the form can lose weight, edge cues, and the sense of contact with the scene.
A simple shutter-angle reference
| Frame Rate | 180° Shutter | Stylised Fast 90° | Stylised Slow 270° |
|---|---|---|---|
| 24 fps | about 1/48 s | shorter than the baseline | longer than the baseline |
| 25 fps | about 1/50 s | shorter than the baseline | longer than the baseline |
The table is a creative reference, not a rulebook. The shot decides the setting, and the renderer or compositor should support that decision rather than fight it. For producers, the practical question is how much blur the shot can carry before it starts hiding what matters. Keep the default look when motion should feel natural, reduce it when clarity is the priority, and increase it when the scene can tolerate softness. Fast cuts and dense action usually need less smear than slow reveals, while stylised reveals can often take more. Teams comparing engine behaviour can also use this Unreal versus Unity guide for real-time animation to see how blur choices change across pipelines.
Performance Trade-Offs in Real-Time Pipelines
Real-time blur has a different problem set from offline film work. In Unity, Unreal, WebGL, and headset-led XR, motion blur is a per-frame cost, and every extra sample or longer accumulation window has to fit inside a tight budget. That's why teams often treat blur as optional rather than default.
Why XR teams switch it off
In VR and AR, motion blur can fight the thing the experience needs most, clear spatial reading. Sharp text, UI, and object edges matter when a user is moving their head or reaching for something. Blur can also feel physically uncomfortable in head-tracked content, so many XR teams keep it off or use it very selectively. Esports-style games make the same call for a different reason. Players usually care more about instant readability than cinematic softness, so clarity wins over smear. The effect can still be justified in a cinematic VR piece, a mixed reality teaser, or a high-end console experience, but the default in interactive work is often restraint.
Blur as both helper and crutch
Motion blur can also hide frame-rate drops by smoothing judder, which is useful when the frame pacing isn't ideal. That same property can become a crutch, because it hides a problem instead of fixing it. A producer who wants a stable experience should treat blur as a design choice, not a bandage. If you're comparing engine behaviour, the Unreal versus Unity real-time animation guide is the right companion read. Both engines can produce convincing motion, but they don't pay the same performance cost in every project.
A Production Walkthrough From Brief to Delivery
A producer briefs a 30-second brand film and a short in-venue VR teaser around the same 3D character. The film needs a polished, broadcast-ready finish, while the VR piece needs crisp spatial cues so viewers don't feel disoriented. That means motion blur can't be chosen once at the end, it has to be decided at brief stage.
How the decision shows up in the pipeline
Previz is where the team tests the feel. The animator can block the character, the lighting artist can check silhouette readability, and the compositor can compare a cleaner pass against a blurrier one. If the motion reads too sharply, the shot may need a wider shutter feel. If the character's hands vanish into streaks, the team may pull the blur back. The render budget changes too. More motion samples mean more render work, and that matters when the shot list is long or the deadline is tight. In the VR version, the team may choose a sharper result specifically because the user is inside the space, not just watching it.
What a producer should ask early
- •Where will the image be seen? Cinema-style playback and headset playback need different blur decisions.
- •What needs to stay readable? Faces, logos, and UI often need less smear.
- •What is the shot supposed to feel like? Sleek, punchy, dreamy, or grounded all point to different exposure choices.
- •Which department owns the blur? Camera, render, comp, and engine teams don't always solve it the same way.
That's the core lesson of the pipeline. Motion blur is not a switch hidden in post, it's a creative decision that ripples through previs, render, and delivery.
Motion Blur as a Creative and Technical Dial
Motion blur earns its place when it helps the viewer read motion the way the shot intends. It can make movement feel smoother, match live-action footage, or keep a fast scene from turning brittle. It can also flatten detail, hide performance, or reduce legibility if it's pushed too far. For a quick decision check, ask four things, frame rate, shutter, platform, and intent. If those four don't agree, the blur will probably feel wrong. If they do agree, the shot usually settles fast. The bigger shift is simple. As virtual production, mixed reality, and AI-assisted finishing keep changing how images are assembled, the method of generating blur will keep evolving. The underlying physics won't. Motion still has to be sampled across time, and your audience will still notice when that timing feels off. --- If you're planning a film, animation, or XR piece and want the blur, clarity, and delivery format aligned from the first brief, contact Studio Liddell and start the conversation with a production team that can help you make those decisions early.