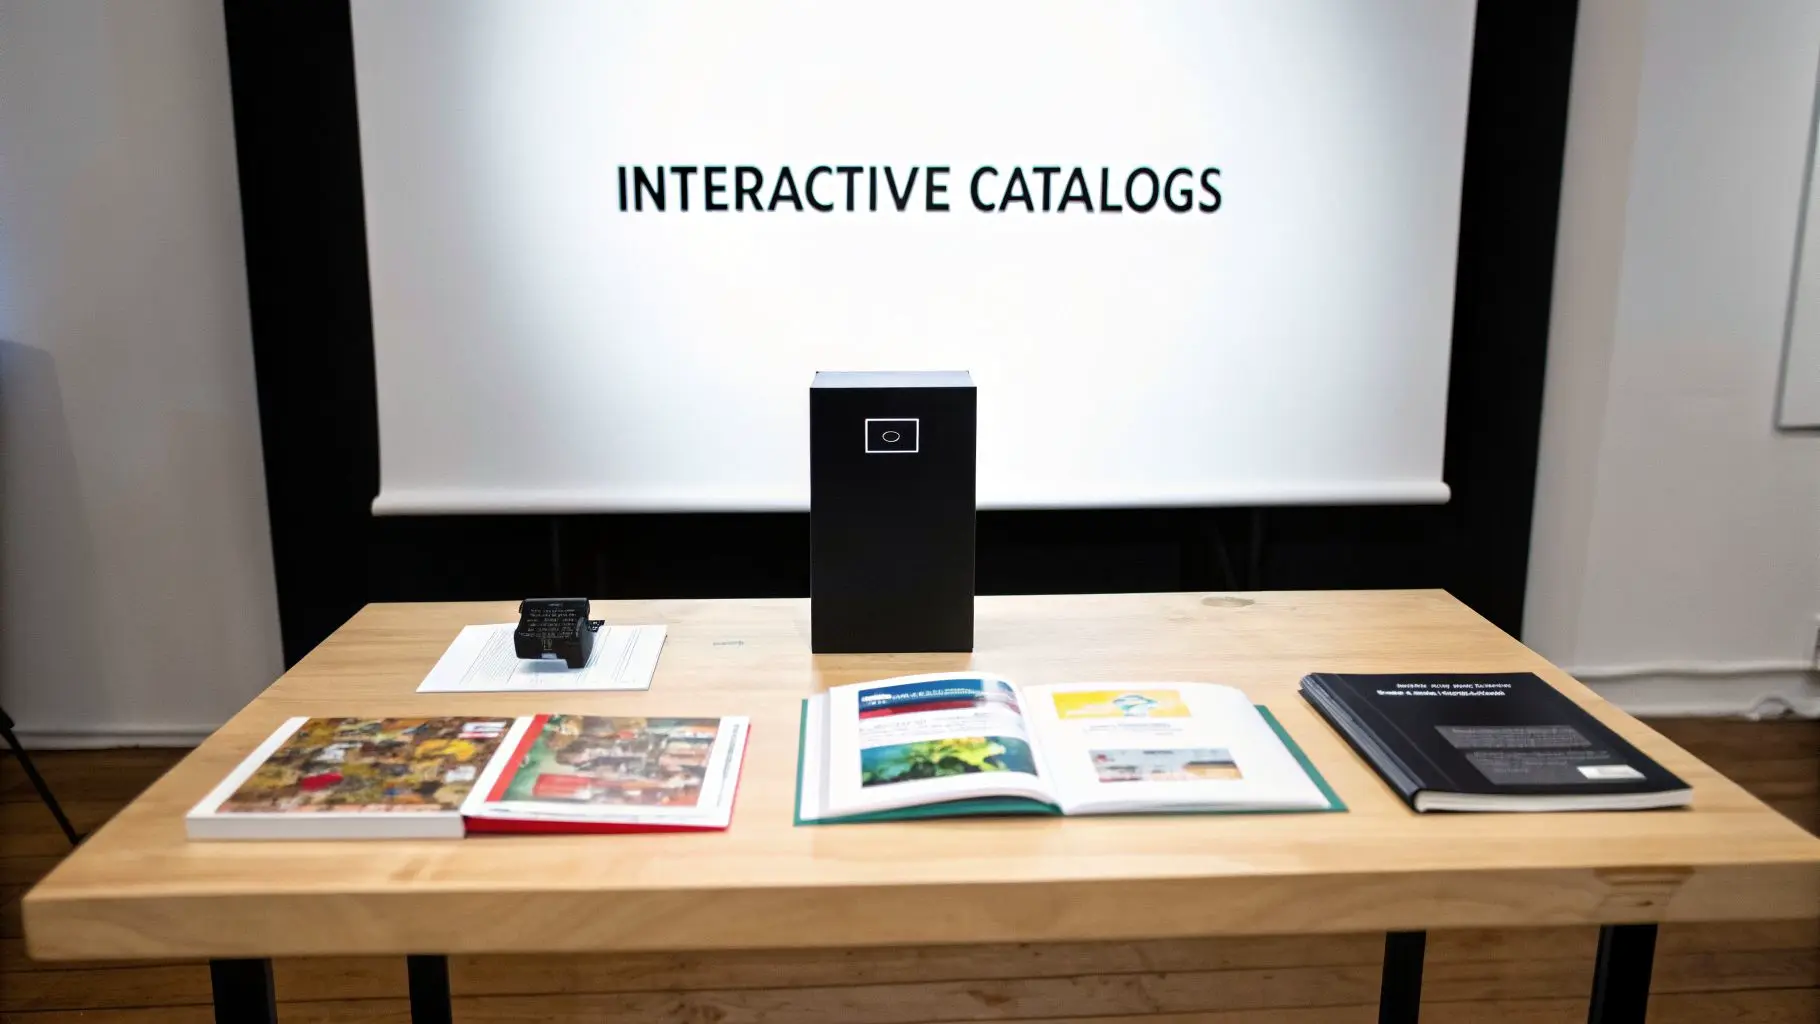
Print Augmented Reality Unlocking Immersive Experiences
Picture this: your latest product catalogue lands on a customer's doormat. They flick through, find a sofa they like, and with a simple point of their phone, a full-size 3D model appears right there in their living room. That’s the power of print augmented reality , it breathes digital life into static paper, transforming it into an interactive experience.
Bridging The Physical And Digital Worlds
At its core, print augmented reality adds a secret digital layer to paper, unlocked with a smartphone or tablet. Think of it as giving your printed materials a digital soul. A previously flat brochure, business card, or poster can suddenly burst to life with 3D animations, video demonstrations, or even a direct link to purchase from your online store.

It’s a simple yet powerful way to create a memorable connection with your audience, grabbing their attention far more effectively than traditional print ever could on its own.
How Does It Actually Work?
The whole experience is powered by three key ingredients working in perfect harmony:
- •The Physical Trigger: This is the printed item itself. It could be a dedicated QR code, a company logo, a product image in a catalogue, or even an entire page of a magazine.
- •The Smart Device: A customer’s smartphone or tablet acts as the window. Its camera scans the trigger, and the screen displays the digital magic.
- •The AR Application: This is the software that recognises the trigger and launches the content. It might be a custom-built app for your brand or, increasingly, a browser-based experience that requires no download at all (known as WebAR).
The central idea is to build a seamless bridge between your physical marketing assets and the endless possibilities of digital media. It doesn't replace ink on paper; it makes it better. For instance, a quick scan can turn a static image into a "try before you buy" tool. A famous IKEA campaign allowed people to visualise furniture in their homes by scanning the catalogue, giving them a real sense of scale and style before they committed. To help break it down, here’s a quick overview of how the different pieces come together to create a tangible business outcome.
Print Augmented Reality at a Glance
| Component | Role in the Experience | Business Application |
|---|---|---|
| Print Material | The physical anchor that starts the journey. | Catalogues, posters, business cards, packaging. |
| Visual Trigger | The specific image or code the device looks for. | Product photos, logos, custom markers. |
| User's Device | The lens through which the digital content is viewed. | Smartphones and tablets are universally accessible. |
| AR App / WebAR | The software that recognises the trigger and displays content. | Provides interactive 3D models, videos, buy buttons. |
| Digital Content | The animation, video, or 3D model that appears. | Product demos, brand storytelling, virtual try-ons. |
| User Interaction | The 'wow' moment when the user engages with the content. | Deepens brand connection and memory recall. |
This table shows how each element plays a part in turning a simple piece of paper into a powerful, interactive marketing tool. By inviting this kind of interaction, you encourage customers to spend more time with your brand, absorb your message more deeply, and feel more confident taking the next step. Better yet, you can gather valuable data on which printed items generate the most scans, giving you insights that were previously impossible to get from print campaigns. We explore this concept in more depth in our guide to augmented reality cards. Ultimately, this approach turns passive reading into an active, engaging, and genuinely memorable experience.
The Technology Powering Interactive Print
So, how does a simple printed page actually come to life with animations and 3D models? It’s not magic, but it _is_ a clever set of technologies working together. For anyone steering a marketing campaign, getting a handle on the ‘how’ is vital for making smart choices on strategy and budget. At its core, print augmented reality uses a device's camera to recognise a specific image and then lays a digital experience on top of it. This recognition part is the technical foundation, and it usually works in one of two main ways.
Marker-Based vs Markerless AR
The first and most common method you'll encounter is marker-based AR. Just think of a marker as a specific visual anchor that the AR app has been trained to look for. This could be anything from a simple QR code to a complex company logo or a custom graphic on your packaging. When the camera spots this marker, it knows exactly where and how to place the digital content. This precision is perfect for experiences where you want the digital object to feel firmly ‘stuck’ to the physical item, like a video playing right on a business card. The alternative approach is markerless AR. Instead of hunting for one predefined trigger, this tech allows an entire image, like a full-page magazine ad or a poster, to become the interactive canvas. The software analyses the whole picture's unique features (its colours, patterns, and shapes) to anchor the digital content. This creates a much more seamless and often surprising experience, as it feels like the tech is recognising the scene itself rather than just a symbol.
Key Takeaway: Marker-based AR uses specific triggers like QR codes for precise placement. Markerless AR uses the whole image as the trigger for a more integrated, 'wow' experience. The right choice boils down to your campaign’s creative and functional goals.
The Tools of the Trade
Recognising the trigger image is just the first step. Creating the captivating digital content that appears is where the real artistry comes in. This is the world of powerful game engines and specialised software development kits (SDKs).
Creative Powerhouses: Unity and Unreal Engine
Here at Studio Liddell, we build our stunning 3D assets and fluid animations using industry-leading game engines like Unity and Unreal Engine. These platforms are the creative sandpits that let our artists and developers run wild. They allow us to:
- •Build incredibly detailed and realistic 3D models.
- •Animate characters and products with lifelike movement.
- •Create interactive elements, from simple buttons to complex mini-games.
- •Optimise every visual asset so it loads quickly and runs smoothly on all sorts of mobile devices.
These are the very same tools used to create blockbuster video games and film special effects, which means your print AR project gets a truly professional, polished feel.
Bridging the Gap with AR SDKs
Software Development Kits, or SDKs, are the essential bridge connecting the physical world to the digital experience we’ve built. Platforms like Apple’s ARKit and Google’s ARCore provide the underlying code that lets an app understand 3D space, track motion, and correctly overlay your digital content onto the camera feed. Knowing how to activate these experiences is key. Often, this starts with a simple marker, and understanding tools like free QR code generators is a great first step in creating those triggers. As a studio, we take care of all the technical heavy lifting, selecting the right SDKs and tools for your project's specific needs. This guarantees a flawless end-user experience, so you don't have to worry about a single line of code. To get a deeper look into the full development journey, check out our guide to AR app development from concept to launch.
The Print AR Production Journey
Taking a print augmented reality experience from a simple idea to a live, polished launch is a journey. It's a structured, collaborative process that blends sharp strategic thinking with technical and artistic flair. The goal is to create something that not only looks incredible but also hits tangible business targets. A solid production pipeline is what turns ambitious concepts into reliable, engaging, and measurable digital interactions that actually work. This journey is more important than ever. The UK augmented reality market pulled in revenues of USD 4,131.2 million in 2024, and it's set to skyrocket to USD 25,763.2 million by 2030. That explosive growth, fuelled by a 34.7% compound annual growth rate, proves there's a huge appetite for these immersive experiences. To get a piece of that pie, a robust production process is non-negotiable. You can dig into more data on the UK's leadership in immersive tech in the full market research report.
Stage 1: Strategy and Concepting
Every great project starts not with technology, but with a simple question: "What are we actually trying to do?" This first phase is all about defining the purpose. Are we looking to boost sales? Improve brand recall? Or maybe just make a complex product demonstration easier to understand? This is where we sit down with you to map out the business goals and sketch the ideal user journey. We brainstorm the core concept, figuring out what story the digital layer will tell and how it will add value to the physical print material it's connected to. For our enterprise clients, we often formalise this as a discovery workshop where we can align on goals, scope, and technical requirements.
Stage 2: Asset Creation
With a clear strategy in place, our creative teams get to work building the two essential components of the experience: the trigger and the digital content. The trigger is the specific image on your printed item that the AR app will recognise. The digital content is the magic that unfolds right after. This stage involves:
- •Trigger Design: We design or choose an image with high contrast and distinct features. This ensures smartphones can recognise it quickly and reliably, even in less-than-perfect lighting.
- •3D Modelling and Animation: Our artists get to work building the 3D objects, characters, or effects that will pop up on the screen. Using tools like Unity and Unreal Engine, they create visuals that are truly studio-quality.
- •Video Production: If the experience includes video, we'll produce it or format existing footage to be lightweight and optimised for mobile. This prevents the long loading times that are guaranteed to make users close the app.
Key Advice: Design Triggers for Real-World Conditions A trigger that works perfectly under bright office lights might completely fail in a dimly lit living room or on a glossy magazine page. We test our triggers relentlessly to make sure they're robust and user-friendly. A failed scan is a lost customer.
Stage 3: Development and Integration
This is where our developers bring all the assets together into one seamless experience. Using the chosen SDKs, like ARKit for Apple devices or ARCore for Android, they write the code that links the trigger image to its digital counterpart. This phase is all about programming the logic of the experience. What happens when a user taps a button on their screen? How does an animated model react when you move your phone? Our developers build these interactions to feel intuitive, responsive, and natural. The basic flow looks simple, but executing it flawlessly takes real expertise: the device scans a trigger, which then launches the AR experience.

This image simplifies the user's side of things, but behind the curtain, our optimisation work is what makes it all feel so instant.
Key Advice: Optimise 3D Assets for Instant Loading Let's be honest, attention spans are short. A 3D model that takes ten seconds to load is a failure. We obsess over optimising our digital assets, cutting down polygon counts and file sizes without sacrificing visual quality, so the magic appears in a flash.
Stage 4: Rigorous Testing
Before anything goes live, we put it through its paces. Our quality assurance (QA) phase involves thorough testing across a huge range of devices, operating systems, and real-world environments. This is crucial for catching bugs and ironing out any kinks in the user experience. We check everything from tracking stability to the clarity of the interface, making sure the final product is absolutely flawless.
Stage 5: Deployment and Analytics
Once the experience is polished, tested, and approved, it's go-time. We handle the entire technical deployment, whether that involves submitting a dedicated app to the app stores or launching a WebAR experience on a server. But the journey doesn't stop there. We integrate analytics to track key performance indicators (KPIs) like scan counts, how long users engage, and interaction rates. This data gives us priceless insight into user behaviour and, most importantly, measures the campaign's return on investment.
Real-World Examples That Drive ROI
Theory is one thing, but how does print augmented reality actually create real value for a business? It all comes down to its ability to turn static print into an interactive gateway. It’s not just about wowing an audience; it’s about guiding them towards measurable actions that benefit your bottom line. From retail catalogues to trade show floors, AR is closing the gap between the physical and digital worlds to deliver a genuine return on investment.
The market data backs this up. In the UK, the AR sector is dominated by hardware, which holds a massive 81.98% revenue share in 2024. For print AR, this means one crucial thing: the smartphones in our pockets have high-quality cameras perfect for scanning AR triggers. While hardware provides the foundation, it's the software that's set to grow fastest, with AI-powered apps opening up all kinds of new creative possibilities. You can dig deeper into these trends by reading the full report on AR market trends.
Shoppable Catalogues and Virtual Try-Ons
Printed catalogues are a timeless marketing tool, but AR gives them an incredible modern-day superpower. Picture a customer flipping through your latest furniture catalogue. Instead of just admiring a photograph, they scan the page and instantly see a true-to-scale 3D model of that very sofa in their own living room. This "try before you buy" experience smashes one of the biggest barriers to an online sale: uncertainty. It immediately answers questions like, "Will it fit in that corner?" and "Does it go with my other furniture?" in a way no static image ever could.
- •Key Metric: Increased Conversion Rates. By building buyer confidence, AR-ready catalogues have a direct impact on sales.
- •Real-World Application: IKEA’s "Place" app was a pioneer in this space, letting customers visualise furniture in their homes. Now, that same concept can be embedded directly into printed materials, making the experience feel even more seamless.
Interactive Exhibitions and Retail
At a bustling trade show or in a retail environment, grabbing and holding attention is half the battle. AR for exhibitions can turn a simple brochure or flyer into a powerful lead-generation tool. It can increase stand dwell time and create a memorable, interactive experience that separates you from the competition. Imagine a potential client scans a postcard and a full-scale digital twin of your equipment appears on their screen. They can walk around it, inspect key features, and watch it in action, even if the real product is too large or complex to have on site. Use cases like product configurators or interactive demos give your sales team a dynamic way to engage prospects.
Business Outcome: Increased Stand Dwell Time and Lead Quality. An engaging AR experience keeps visitors at your stand longer, giving your sales team more time for quality conversations. It also acts as a memorable takeaway that keeps working for you long after the event is over.
Engaging Educational and Training Materials
In education and corporate training, AR excels at making abstract concepts tangible and visual. Textbooks, safety guides, and training manuals are no longer just flat pages of text and diagrams. Our experience developing VR training simulations for sectors like energy and healthcare shows just how critical visual accuracy and hands-on interaction are for knowledge retention. For instance, a medical student could scan a page in their anatomy textbook to pull up a pulsating 3D model of the human heart, which they can then rotate and digitally dissect. Likewise, a new technician could scan a manual to see an animated overlay showing them, step-by-step, how to assemble a complex piece of equipment. This hands-on approach drastically improves how well people understand and remember information. It turns learning from a passive chore into an active, engaging process of discovery. We've gathered more great examples in our article on the top augmented reality examples that are changing industries.
Best Practices For An Engaging AR Experience
Incredible technology means very little if the experience is clumsy or confusing. The true success of any print augmented reality project comes down to its ability to deliver an immersive and engaging experience, which is why solid user experience design principles are absolutely paramount. It’s all about making the magic feel effortless. A seamless experience doesn't just happen by accident; it's the product of thoughtful design and technical rigour. Drawing from years of developing these projects, we've pinpointed the key pillars that separate a frustrating gimmick from a truly memorable AR interaction.
Onboarding Users Clearly and Simply
Your first and biggest hurdle is simply getting someone to launch the experience. Most people won't instinctively know to point their phone at your brochure. That's why clear, concise instructions printed directly on the material are completely non-negotiable. A simple call-to-action like "Scan to Discover More" or "Bring this page to life!" next to a smartphone icon can work wonders. You need to avoid jargon and keep the steps to a minimum. If an app download is needed, make that obvious and provide a QR code that links directly to the right app store.
Designing Effective Triggers
The trigger is the gateway to your AR content. If it fails, the entire experience falls flat before it even begins. A good trigger image is one that a phone's camera can recognise quickly and reliably, even in the varied lighting conditions of the real world. Here are the golden rules for designing triggers that just work:
- •High Contrast is King: Images with sharp differences between light and dark areas are much easier for a camera to "read." It's best to avoid soft gradients or muted colour palettes.
- •Embrace Complexity (but not chaos): A trigger needs enough unique detail, like textures, sharp lines, and distinct shapes, to be easily identifiable. A plain blue square is a terrible trigger; a detailed logo is a great one.
- •Avoid Repetitive Patterns: Symmetrical or repeating geometric patterns can easily confuse the recognition software.
- •Go Matte, Not Glossy: Glossy finishes on printed materials create glare, which can completely block the trigger image from the camera's view. A matte finish is always the safer bet for print AR projects.
Crafting a Compelling Digital Overlay
Once the user successfully scans the trigger, the digital content that appears must feel both impressive and purposeful. The goal is to enhance the printed material, not just cover it with digital noise.
Key Principle: The digital overlay should feel contextually relevant to the physical print it springs from. If you scan a picture of a car, you should see the car's features, not an unrelated brand video. This connection is what makes the experience feel cohesive and intelligent.
The overlay needs to be visually stunning without being cluttered. It has to provide genuine value, whether that's through a detailed 3D product view, an entertaining animation, or useful interactive information. The key is to add a new layer of understanding or engagement that the print-only version simply couldn't provide.
Optimising for Instant Performance
In the digital world, patience is in very short supply. If your AR experience takes more than a few seconds to load, you've already lost your audience. Performance optimisation is a critical, behind-the-scenes step that makes or breaks user engagement. This involves meticulously preparing every single digital asset, compressing 3D models, optimising video files, and streamlining code, to ensure the experience loads almost instantly. A fast, smooth, and responsive interaction feels like magic; a slow, laggy one just feels broken. Ultimately, a snappy and intuitive experience is what will keep users hooked and make sure your message lands with maximum impact.
Your Print AR Project Implementation Checklist
Ready to bring your print materials to life? A successful print augmented reality project actually begins long before you even think about approaching a studio. Getting a few fundamental questions answered upfront is the key to creating a clear, actionable vision for your project. This checklist boils down the key takeaways from our guide into five critical steps. Think of it as your strategic blueprint. It will help you define what success looks like, get inside your audience's head, and clarify your message. Armed with these answers, your first conversation with a production partner like us will be incredibly productive, turning a vague idea into a solid project brief.
1. Define Your Goal
First things first: what's the main business objective here? Without a clear goal, you have no way to measure success. It’s the compass for the entire project. Are you trying to:
- •Increase direct sales by adding "buy now" buttons to a catalogue?
- •Boost brand engagement and social shares at a busy trade show?
- •Simplify complex information in a training manual to cut down on errors?
- •Generate qualified leads by capturing user details through an interactive experience?
Your goal will dictate every creative and technical decision that follows. An experience built for sales will look and feel completely different from one designed for brand storytelling.
2. Identify Your Audience
Next up, who are you actually trying to reach? Your target audience influences everything, from how complex the AR experience can be to the simple instructional text you print on the trigger image. Take a moment to consider their technical comfort level and what kind of content will genuinely grab their attention. For example, a younger, tech-savvy crowd might love a gamified challenge, whereas a B2B professional will likely prefer a straight-to-the-point, information-rich product demonstration.
3. Plan Your Content
With your goal and audience locked in, what story is your digital layer going to tell? The content is the absolute heart of the AR experience. What will you show them? Will it be:
- •An animated 3D model to showcase a product from every conceivable angle?
- •A short, compelling video that tells your brand’s origin story?
- •An interactive infographic to break down a complicated process?
Whatever you choose, your content has to add genuine value. It needs to do something the static print page simply can't.
4. Choose Your Platform
So, how will people actually access your AR content? You have two main routes to go down:
- •WebAR: This is browser-based, which means no app download is needed. It offers fantastic accessibility for users, but it can come with some technical limitations on what you can build.
- •Dedicated App: A custom-built app will give you the richest features and the most reliable performance. The trade-off is that you have to convince users to download it first.
Your choice here will really depend on your audience, budget, and how complex your dream experience is.
Final Consideration: Budget Your budget will naturally be shaped by the complexity of your 3D assets, your choice between WebAR and a custom app, and the overall scope of interactivity. Having a rough idea of your investment level helps studios propose a solution that's both realistic and effective.
With these questions answered, you're in a great position to move forward. To explore how we can turn your vision into a stunning reality, book a discovery workshop with our team today.
Frequently Asked Questions
When you start looking into print augmented reality, a few common but crucial questions always pop up. Let's tackle the key things businesses want to know when they're thinking about blending their physical and digital marketing.
How Much Does a Print AR Project Cost?
There's no one-size-fits-all answer here. The final cost of a print AR project really boils down to a couple of key things: how complex the digital content is and what you want the experience to actually _do_. A simple project, like having a video play when someone scans your business card, is going to be on the more affordable end. But if you need us to create intricate, custom 3D animated models from the ground up, packed with interactive features, that’s going to require a much bigger investment in artist and developer time. It really comes down to these factors:
- •3D Asset Complexity: A static 3D model of a product is far simpler to create than a fully animated character with its own movements and personality.
- •App Features: A basic "view and rotate" experience is pretty straightforward. A custom product configurator or a mini-game? That's a different story.
- •Platform Choice: A WebAR experience often has a different cost profile compared to building and maintaining a dedicated app for both iOS and Android.
Do Customers Need a Special App?
This is a big strategic decision, and you've got two main paths: a dedicated, branded app or browser-based WebAR. Each has its own set of strengths and weaknesses. A dedicated app , the kind people download from the App Store or Google Play , delivers the absolute best performance, the highest visual quality, and the most complex interactive features. The catch? You have to convince users to take that extra step and actually download it, which can be a hurdle. WebAR, on the other hand, just works. It runs directly in a smartphone's web browser, so there's no download needed. This makes it incredibly easy for people to jump in and check it out, slashing user friction. The trade-off is that it can sometimes be a bit more limited in performance and the sheer complexity of the AR it can handle.
Our Takeaway: For one-off marketing campaigns or event activations where you need people to get in quickly and easily, WebAR is usually the best bet. For long-term engagement or experiences that demand top-tier performance, a dedicated app is probably the way to go.
What Print Materials Work Best for AR?
Just about any printed item can be turned into a trigger for an augmented reality experience, but some materials definitely work better than others. The secret is using a trigger image that a smartphone camera can recognise quickly and without any fuss. Some of the most effective materials include:
- •Brochures and Catalogues: High-contrast product shots or specially designed graphic markers are brilliant.
- •Packaging: Turning your product box into an interactive unboxing experience is a fantastic way to engage customers right after they’ve bought from you.
- •Posters and Banners: Big, clear graphics make for excellent triggers in public-facing campaigns.
As a best practice, always try to use a non-glossy, matte finish. This helps to avoid any glare that might confuse the camera and interfere with recognition.
How Do We Measure the ROI of a Print AR Campaign?
This is where print AR really shines. Unlike traditional print, every interaction is incredibly measurable. We can track user behaviour with a level of detail that gives you crystal-clear insights into how your campaign is performing and what your ROI looks like. We can track all sorts of useful metrics:
- •Scan Counts: The most fundamental metric , how many people are actually engaging?
- •Engagement Time: How long are users spending with your digital content?
- •Click-Through Rates (CTR): How many people are clicking on links to your website or online shop?
- •Interaction Data: Which features are people using the most? What are they tapping on?
This data transforms your print marketing from a one-way street into a genuine two-way conversation. You get actionable insights that help you refine and improve every campaign you run.
Ready to see how print augmented reality could completely change your marketing materials? The team at Studio Liddell has been crafting high-quality digital content since 2019, and we're ready to help you bridge the gap between print and digital. Book a production scoping call with our experts today.