How to Make 2D Animation from Script to Final Export
You've got a script, a deadline, and perhaps a promising character design sitting in a folder. The temptation is to open After Effects or Toon Boom Harmony and start drawing. That's usually where production trouble begins. A few attractive shots can't rescue a weak animatic, unclear approvals, missing assets, or a scene structure that makes every revision expensive. Learning how to make 2D animation means learning two disciplines at once. You need the visual judgement to stage a shot, pose a character, control timing and use colour, but you also need the production habits that turn those decisions into dependable delivery. UK animation work often depends on a small core workforce supported by freelance and specialist teams, so the pipeline has to make handoffs, reviews and version control straightforward. Animation UK's workforce data describes a core workforce of about 1,000 people, expanding to 15,390 jobs when wider value-chain effects are included. It also records 52% of workers as freelance and roughly 25% as non-EU, a structure that makes organisation as important as drawing ability. The practical route runs from script and storyboard to animatic, design, animation, compositing, sound, quality control and final export. Each stage should answer a production question before the next one begins.
Why Great 2D Animation Starts Before You Draw
A brand team once arrives with a short explainer brief that sounds simple: introduce the product, show how it works and finish with a clear action. The script is approved in principle, but the timings are vague, the product screens haven't been supplied and three people believe they have final approval. If the animator starts drawing immediately, the first version may look polished while still being structurally wrong. The better response is to turn the brief into decisions. Who is watching? What must they understand? Which moments need character performance, and which can be handled with graphic movement? What must remain on screen long enough to read? These answers shape the script, shot list, asset list and budget before production begins.
Treat the pipeline as a chain of gates
A professional 2D workflow normally has defined approval points:
- •Script lock: The words, structure and call to action are stable.
- •Storyboard approval: The shot order, staging and visual interpretation work without finished animation.
- •Animatic approval: Timing, dialogue, transitions and temporary sound communicate the complete piece.
- •Design approval: Characters, environments, props, typography and colour rules are agreed.
- •Animation approval: Motion, acting and transitions meet the agreed creative direction.
- •Final QC: The master and platform versions are checked against delivery requirements.
Each gate protects the next department. A late script change doesn't just affect the writer. It can invalidate boards, layouts, voice recording, animation and compositing. Clear sign-off doesn't eliminate revisions, but it stops every department from revising the same problem independently.
Practical rule: If a creative decision can be made with a rough drawing or temporary sound, don't wait until it requires finished animation.
That rule matters particularly in the UK, where studios often assemble project teams around specialist roles such as storyboard artists, clean-up animators, compositors and editors. Animation UK's sector data helps explain why short production sprints, organised asset management and tightly defined delivery stages are common. A freelance clean-up artist needs the approved roughs, naming conventions and handoff notes, not a conversation that exists only in someone's memory.
Prepare the production before opening software
Create a short production brief containing the audience, duration, format, message, reference material, visual direction, delivery dates and approval owners. Then build a shot list that identifies the purpose of every shot. If a shot has no narrative or communication job, remove it before it becomes an asset, layout and revision problem. Beginners often search for software tutorials first. A resource such as video creation for independent artists can help clarify the creative starting point, but production readiness requires more than learning a tool. It requires knowing what must be approved, who owns each decision and how a scene will move from one specialist to another. The strongest early deliverable isn't a beautiful frame. It's a production package that lets another artist understand what to make, how it should move and when it needs to be ready.
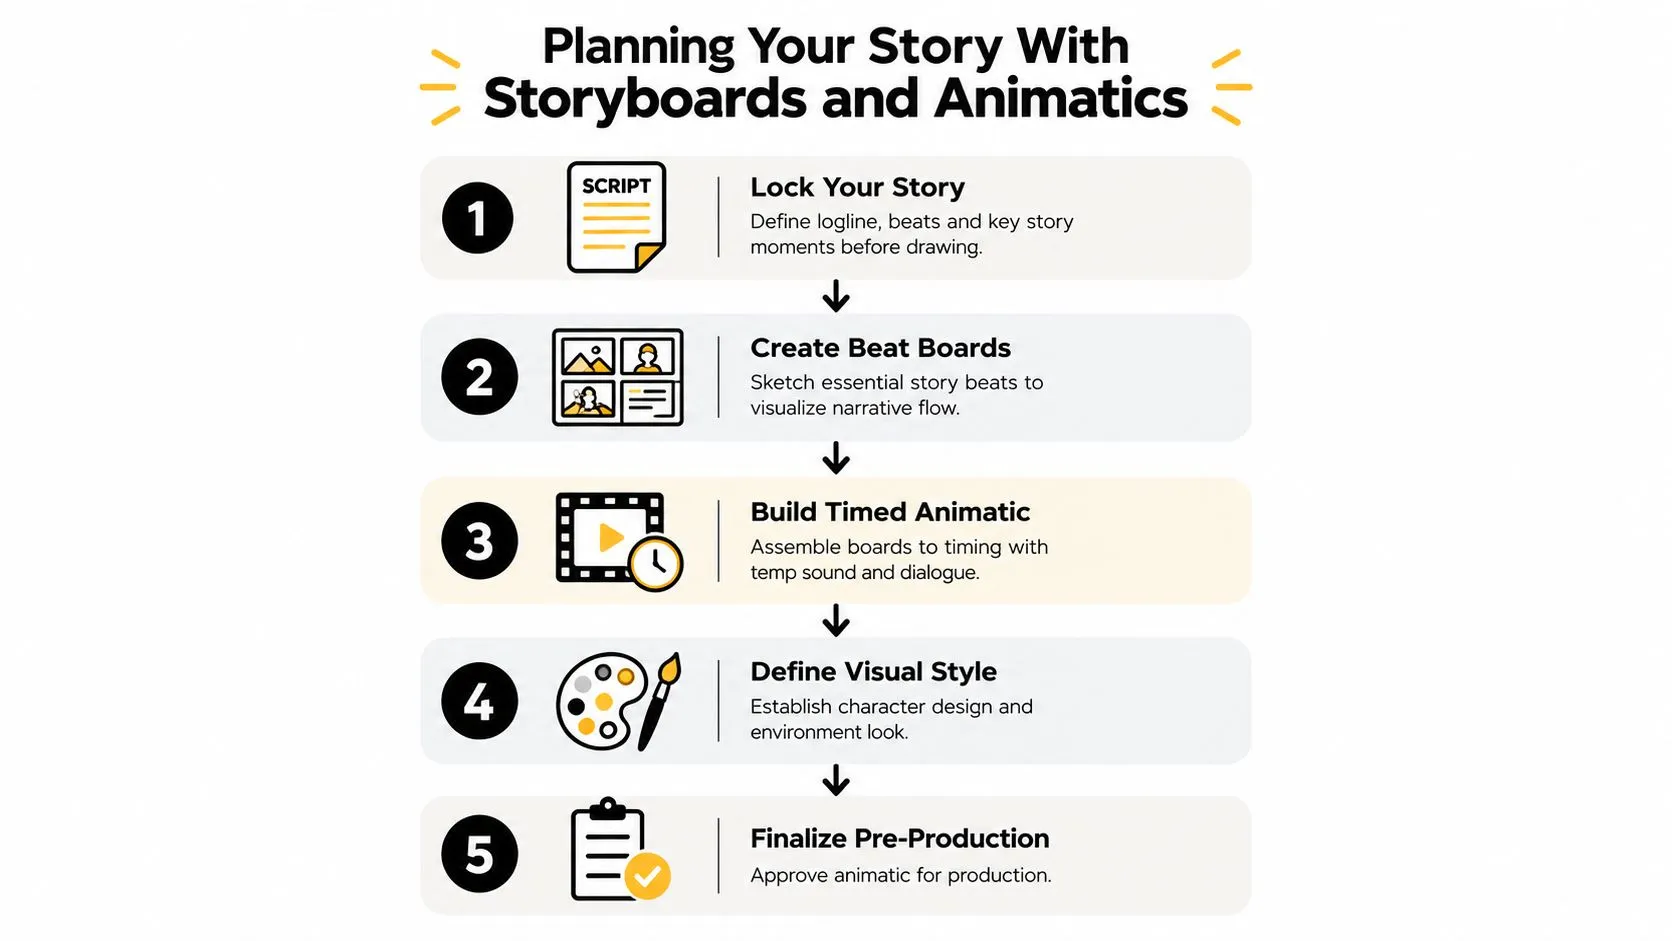
Planning Your Story With Storyboards and Animatics
Storyboards are where the script becomes a sequence of deliberate visual choices. They don't need to be finished illustrations. They need to make camera position, staging, screen direction, character intent, graphic hierarchy and transitions clear enough for approval.
Start with story beats
Write the logline, then divide the script into beats. A beat might introduce a problem, demonstrate a product action, change a character's objective or deliver a conclusion. Give each beat a visual job before drawing individual shots. A useful board doesn't merely show what appears on screen. Add notes for dialogue, action, camera movement, transitions and important graphic details. If a hand reaches for a device, show the starting pose, the action and the result. If a diagram explains a process, establish where the viewer looks first and how their attention moves through it. For a short commercial or explainer, keep each scene focused on one principal idea. Multiple competing actions make the animatic difficult to judge and often produce cluttered animation.
Build the animatic with temporary sound
Scan or export the boards into an editing timeline. Add temporary dialogue, a rough music bed and basic sound cues. The sound doesn't need to be final, but it must support the intended rhythm. A pause in the voiceover may require a held pose, while a fast explanation may need fewer visual details and stronger transitions. Use the animatic to test:
- •Story clarity: Can someone unfamiliar with the brief follow the argument?
- •Timing: Does each visual remain long enough to understand?
- •Shot purpose: Does every cut add information, emotion or emphasis?
- •Audio relationship: Does the action support the words rather than compete with them?
- •Revision boundaries: Which changes are still cheap, and which would affect approved work?
Guidance on mapping every shot before filming is also relevant to animation because the same discipline applies. You want to know what each shot contributes before you spend time producing it.
Set approval limits early
A production team should agree how many review rounds are included at script, storyboard, animatic, design and final stages. The exact arrangement depends on the project, but the principle is stable: feedback belongs at the gate where it can be acted on most cheaply. Recruit storyboard, layout and clean-up support early if the project needs those skills. UK industry evidence points to persistent skills gaps and shortages, so treating specialist recruitment as a last-minute task can create a bottleneck precisely where the production needs consistency. This guide to storyboarding clarity for complex technology is useful when a product or process needs visual explanation rather than decorative motion. Approve the animatic only when the story works with rough drawings and temporary audio. If it doesn't work there, finished animation will make the problem more expensive, not less visible.
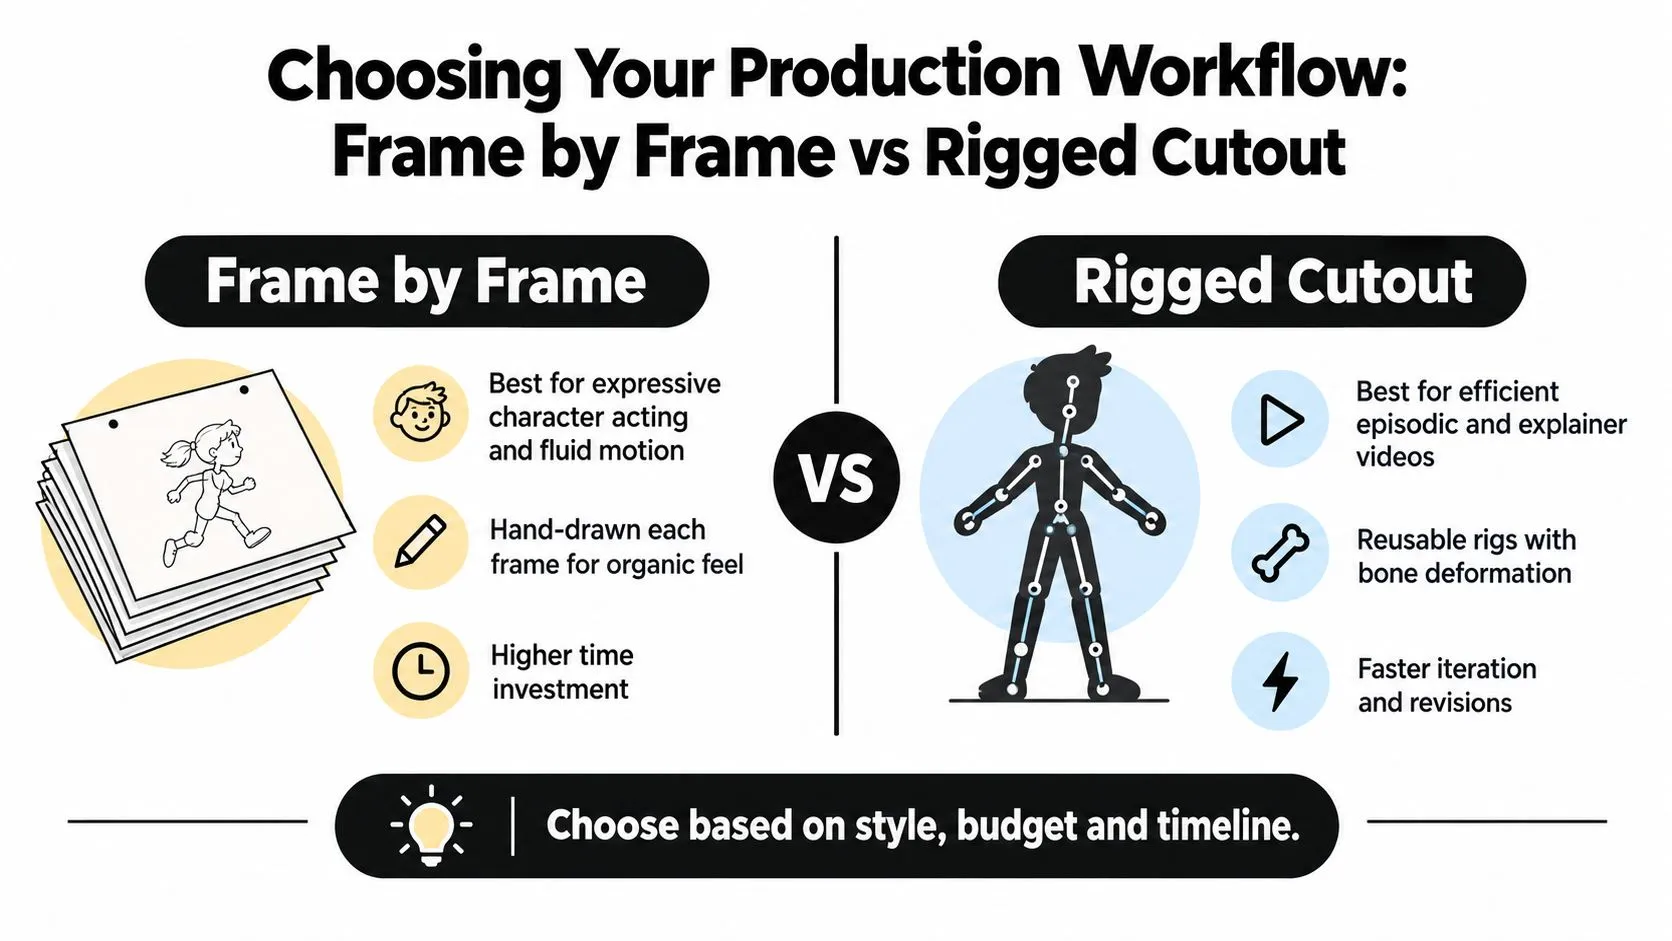
Choosing Your Production Workflow Frame by Frame or Rigged Cutout
Frame-by-frame and rigged cutout animation can both produce strong 2D work, but they solve different production problems. Frame-by-frame animation gives the artist direct control over every drawing. Rigged cutout animation builds a reusable character or object system, then animates that system through poses, deformations and keyframes.
Use the method that serves the performance
Frame-by-frame is the natural choice when the drawing itself carries the performance. It suits loose acting, changing silhouettes, unusual creatures, smear frames, expressive effects and movement that would feel constrained by a puppet. It also lets you reshape a character from frame to frame, which can be valuable for comedy, music-led work and stylised action. The cost is not only drawing time. Each new pose may require fresh clean-up, colour treatment and compositing checks. Revisions to a frame-by-frame sequence can affect many drawings because the motion isn't built from a reusable structure. Rigged cutout is often more practical for explainers, social cut-downs and episodic work. A character can have reusable limbs, mouths, eyes, hands and props. Once the rig is stable, an animator can revise a pose or repeat an action without redrawing the entire character. That advantage disappears if the rig has been built without considering the required range of performance.
| Criterion | Frame by Frame | Rigged Cutout |
|---|---|---|
| Best fit | Expressive acting, organic motion and bespoke effects | Efficient episodic, explainer and modular content |
| Asset approach | Drawings are created for specific actions and poses | Reusable parts are assembled through a rig |
| Revision pattern | Changes can require redraws across a sequence | Poses and timing are usually quicker to adjust |
| Visual risk | Inconsistent proportions or line treatment between drawings | Mechanical movement or visible deformation |
| Production strength | Maximum drawing control | Repeatability and handoff efficiency |
| Main trade-off | Higher labour demand | More preparation and rigging decisions upfront |
Decide before design hardens
Choose frame-by-frame when the brief values a hand-drawn surface, nuanced acting or continuous transformation more than rapid reuse. Choose rigged cutout when the content needs recurring characters, multiple versions, frequent messaging updates or controlled production throughput. A hybrid pipeline can be the most sensible option. A rigged character can handle dialogue and broad movement, while frame-by-frame drawings add a hand-made effect, impact pose or special action. The important decision is to identify those exceptions early, because a hybrid approach still needs clear ownership of assets and scene files. Rigging isn't just attaching bones to artwork. It includes deformation tests, hierarchy decisions, control design, mouth shapes, eye systems, pivots and naming conventions. This practical production guide to AI character rigging offers a useful reference point for thinking about rigging as a production system rather than a software trick. Don't choose a method because it looks impressive in a test clip. Choose it because the team can repeat the result, review it and deliver it within the actual constraints of the brief.
Building Scenes With the Right Tools and Technical Settings
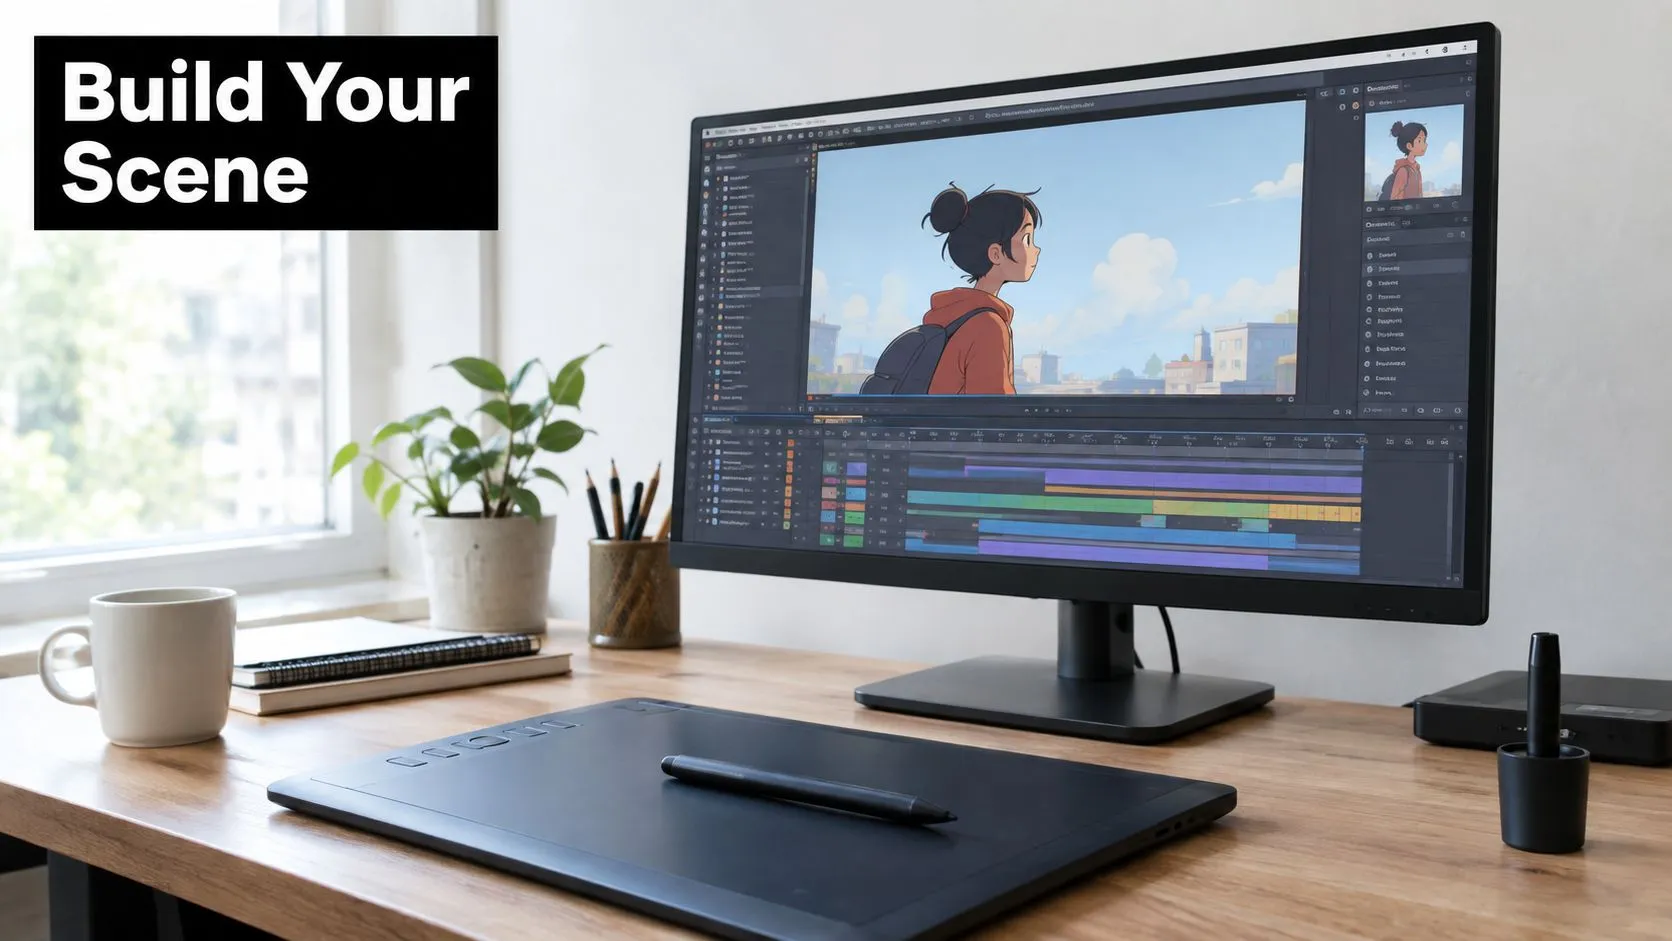
A clean scene file saves more time than a clever shortcut. Before animation starts, establish the delivery format, frame rate, working resolution, colour approach, safe areas, audio settings and file naming. The project may eventually need a master, web version and social cut-down, but the team should know which version controls the creative decisions.
Build a scene template
Create a standard structure for layouts, character layers, props, backgrounds, effects, cameras, guides and audio reference. Separate locked design assets from animated working layers. Keep imported files linked to a predictable asset location, and use version numbers or dates that make the latest approved file obvious. Toon Boom Harmony is commonly used for drawing, rigging and traditional 2D production. After Effects is widely used for motion graphics, compositing, camera moves and finishing. The choice depends on the team and the required output, but a pipeline becomes fragile when artists use different assumptions about scale, frame rate or colour management. Set guides for titles, logos and important action. Keep visual information inside the agreed safe area when the delivery requires it, and check the final composition at the size viewers will see. A character's small mouth shape may be readable on a large monitor but disappear in a compressed social version.
Animate in controlled passes
Start with key poses. They establish the acting, silhouette, weight and timing. Add breakdowns to explain how the character travels between poses, then add in-betweens where the motion needs smoother spacing. Don't clean every frame before the performance works. Rough animation is the place to solve timing and acting. For cutout work, test the rig before animating a full scene. Check the range of joints, the deformation around elbows and knees, the separation between foreground and background parts, and the mouth shapes needed for the dialogue. For frame-by-frame work, check the line weight, construction, volume and relationship between key drawings before committing to clean-up. Lip-sync should follow the recorded dialogue, not the script alone. Mark important sounds, choose mouth shapes that suit the design and add head, eye or body movement so the face isn't doing all the work. A technically accurate mouth track can still look lifeless if the rest of the performance stays rigid.
Keep collaborative files legible
Use descriptive scene names, separate approved references from working material and save incremental versions. A clean-up artist should know which rough animation is current. A compositor should know whether a background is final, provisional or awaiting a client decision. UK production often combines permanent studio knowledge with project-based specialist support. A consistent template reduces the amount of information that must be explained during every handoff, which protects both schedule and creative quality. Before moving a scene to post, check that all layers are labelled, artwork is at the intended scale, missing links are resolved, mattes and effects are intentional, and the scene opens correctly on another workstation. The best technical setup is the one that makes the next person's job unambiguous.
Polishing and Exporting for Quality and Efficient Delivery
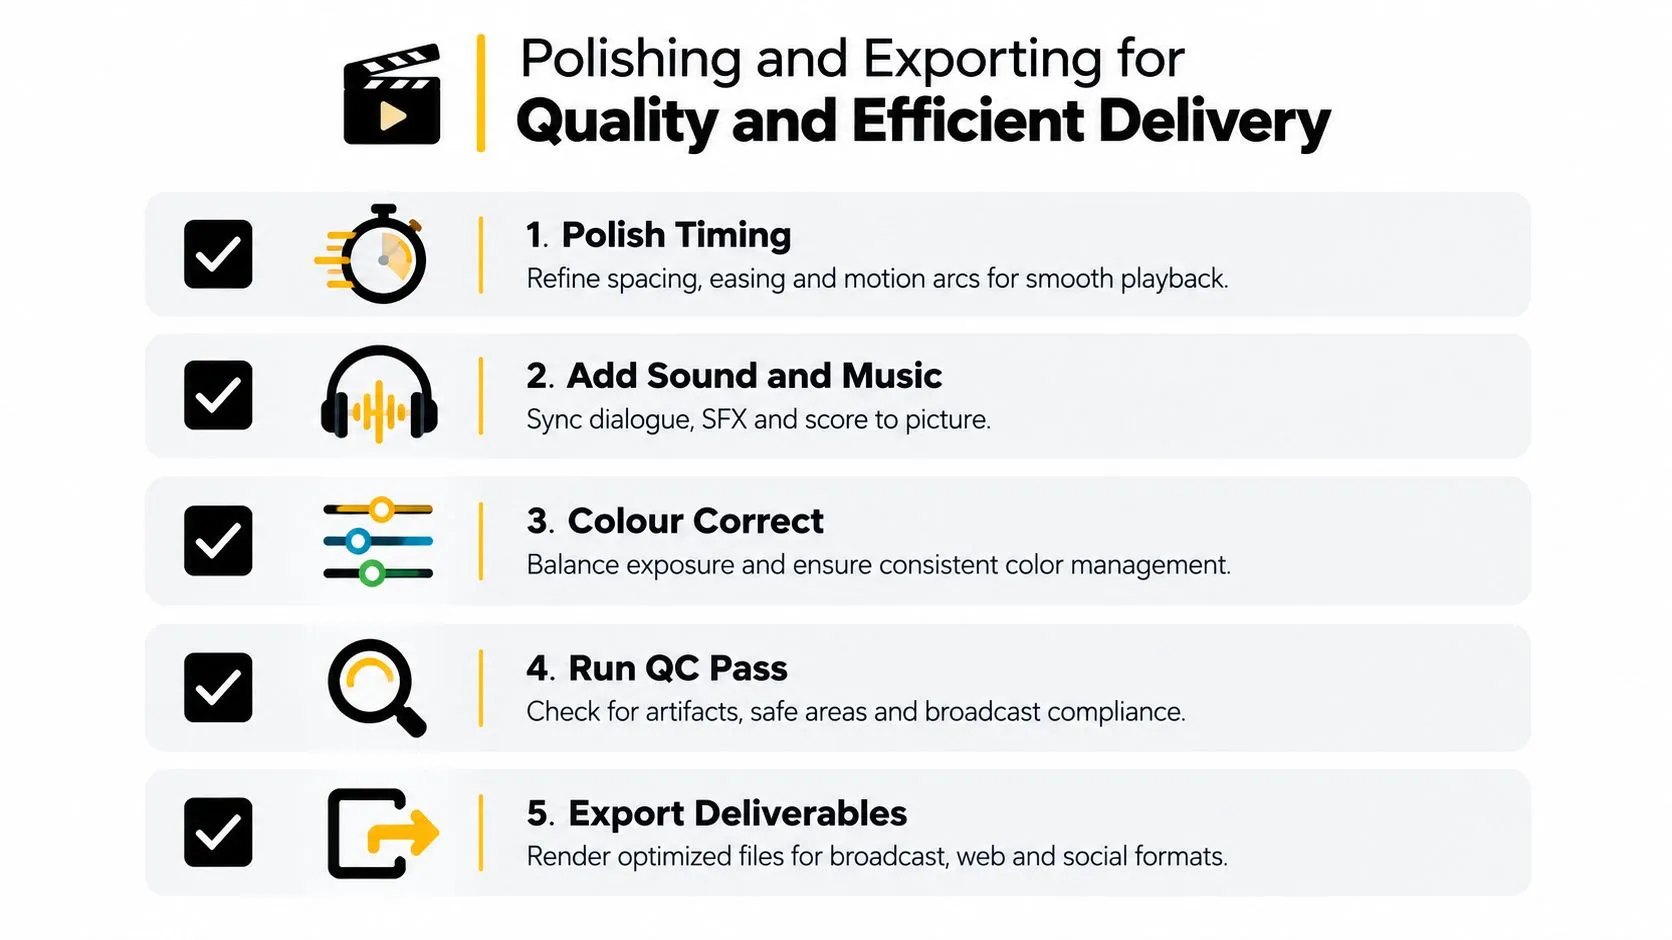
Finishing isn't a rescue stage. It is where timing, sound, colour, compositing and delivery decisions are brought into alignment. A scene can be beautifully animated and still fail if a dialogue edit is out of sync, a logo is clipped, an effect breaks during export or the colour shifts between shots.
Polish the picture and sound together
Review spacing, easing, arcs, holds and transitions. Look for moments where the eye has nowhere to rest, then remove or simplify movement that doesn't support the message. Sound effects should reinforce an action, not disguise weak timing, while music should leave room for dialogue. Colour correction should make shots feel like one film. Check exposure, contrast, line colour, background consistency and the appearance of brand colours across the sequence. If compositing includes glows, shadows, texture or depth effects, inspect them at normal viewing size as well as close up. This explanation of animation compositing from layers to final frame is a helpful reminder that post-production depends on disciplined layer organisation. Compositing works best when the artist receives deliberate elements with clear mattes, references and instructions, rather than a flattened file that hides the creative options.
Use a repeatable QC pass
Run the finished film from beginning to end without stopping. Then inspect it technically. A short checklist catches more problems than another unstructured creative review:
- •Picture: Check missing frames, unwanted holds, pops, flicker, broken mattes and inconsistent line treatment.
- •Text: Read every title, caption, URL and call to action at the intended viewing size.
- •Sound: Confirm dialogue sync, clean edits, balanced levels and the correct music version.
- •Colour: Compare shots for continuity and confirm that the colour pipeline behaves as expected.
- •Delivery: Verify frame dimensions, frame rate, audio configuration, file naming and requested platform versions.
Keep the approved master separate from derivatives. Render social cut-downs from the controlled project rather than trimming an already compressed upload. Batch exports can reduce repetitive work, but review each output because automated rendering doesn't know whether a crop has removed a character's face or a caption. Feedback should be consolidated through one approval route. A producer or nominated client lead should collect comments, identify conflicts and confirm which changes are in scope. That protects the editor and compositor from receiving contradictory instructions while a deadline is already moving.
Your Next Project Made Faster and More Consistent
The fastest 2D projects aren't the ones where artists rush into animation. They're the ones where the team removes uncertainty before labour becomes expensive. Lock the story, prove the timing in an animatic, select frame-by-frame or rigged cutout for a clear reason, establish technical settings early and make every approval visible. Build a lightweight template you can reuse. Include a brief, shot list, asset register, naming convention, review schedule, export checklist and folder structure. For a small independent project, even a simple spreadsheet and clearly labelled scene files can provide the discipline that a larger production system formalises. A voice note can also be a practical way to capture ideas while travelling or away from the workstation. If you're comparing tools for that part of the process, the macOS dictation app roadmap provides context for evaluating how dictation features may fit into a creative planning routine. Dictation won't solve story structure, but it can help preserve observations that later become beats, dialogue notes or revision instructions. Bring in specialist help when the project needs character rigging, clean-up capacity, complex compositing or dependable delivery across multiple formats. Studio Liddell offers 2D animation production alongside storyboards, animatics, animation and final delivery work, so a brief can be developed within a connected production pipeline rather than passed between disconnected suppliers. Start with a short scene if you're learning. Make the objective clear, finish the animation cleanly, inspect the export and record what slowed you down. Repeating that cycle will teach you more about production-ready 2D animation than collecting software tutorials without completing a deliverable. --- If you're developing an advert, explainer, series asset or social animation, visit Studio Liddell to discuss the brief with a production team that can support storyboards, animatics, animation, compositing and final delivery. Share your script, audience and deadline, and ask for a practical production route built around the scenes you need.