VR Game Development with Unreal Engine: From Concept to Reality
Kicking off your VR game development in Unreal Engine demands a solid foundation. If you don't get the setup right from the very beginning, you're just creating performance headaches for your future self. This isn't just about clicking 'New Project'; it’s a deliberate process of configuring settings for specific hardware like the Meta Quest, picking the right template, and building a project structure that can actually scale.
Laying the Groundwork for Your Unreal VR Project
A successful VR project truly begins long before your first asset ever touches the engine. This initial setup phase is where you make the big calls on performance, target platforms, and your team's workflow. Nailing this now will save you countless hours of troubleshooting and refactoring down the line. Think of it as the blueprint that ensures your creative vision doesn't get crushed under a mountain of technical debt. The UK's gaming sector has seen a massive surge in this space. In fact, the virtual reality gaming market pulled in USD 1.38 billion in revenue in 2024 alone. And it's not slowing down; projections show that figure skyrocketing to USD 4.08 billion by 2030, thanks to a compound annual growth rate of 19.1%. Studios using powerful tools like Unreal Engine are at the heart of this growth, building the kind of high-fidelity experiences that players crave.
Choosing Your VR Template
Unreal Engine gives you a few great starting points to get moving quickly. For most projects, the built-in VR template is the perfect launchpad. It comes with a pre-configured pawn, some basic teleportation locomotion, and even logic for grabbing objects. Honestly, this template is a lifesaver. It handles so much of the tedious boilerplate setup for you:
- •VR Pawn: A character blueprint that’s already wired up for motion controller tracking.
- •Input Mappings: Common controller inputs are already mapped, so you don't have to start from scratch.
- •Interaction Components: A simple system for picking up and fiddling with objects in the world is ready to go.
Starting here lets your team jump straight into prototyping the core mechanics of your game, rather than spending weeks reinventing the wheel on fundamental VR systems.
Critical Project Settings for VR
Once your project is created from the template, a few settings need your immediate attention to make sure it’s properly optimised for VR. Your first port of call is always `Project Settings`. The whole process is pretty straightforward: configure your base settings, choose the right template, and then apply some initial optimisations.
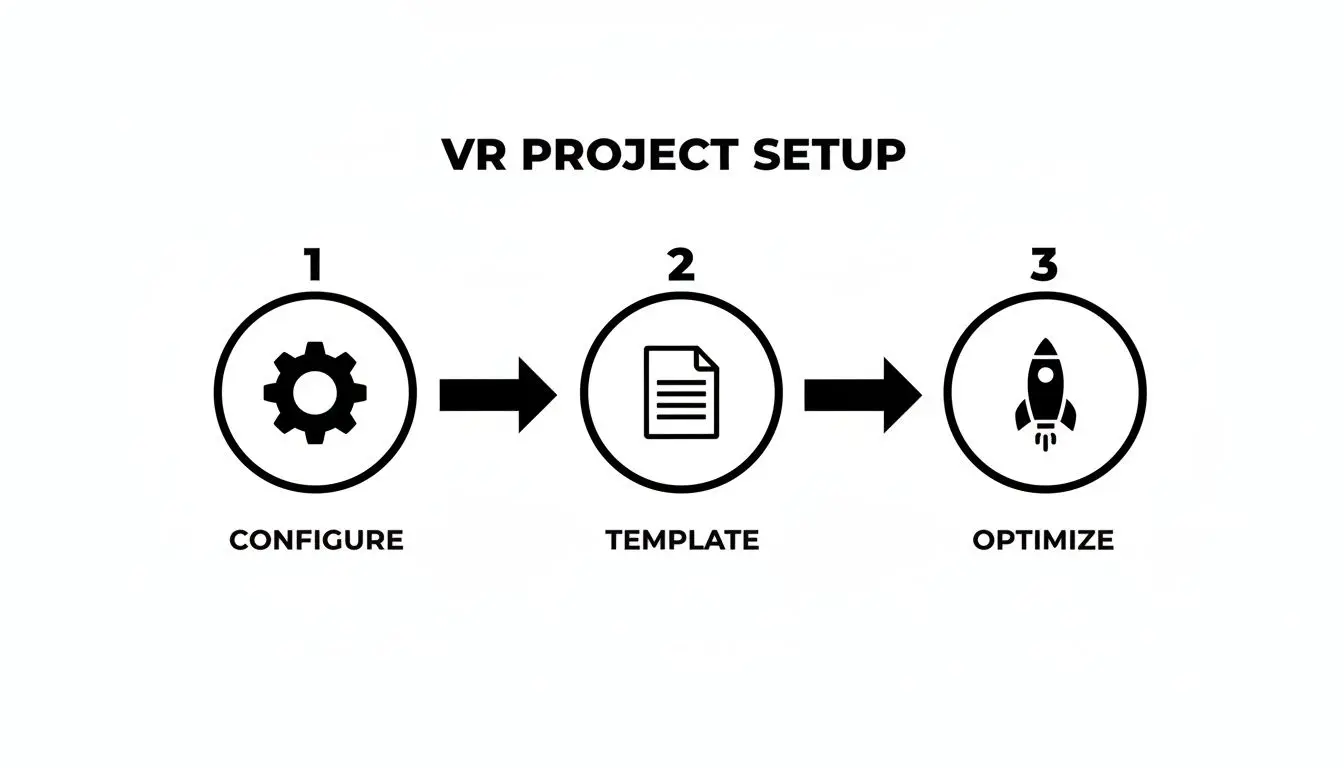
This workflow helps you lock in those foundational decisions early on, which is key to preventing performance bottlenecks and compatibility nightmares as the project grows. To help you get started, here's a quick checklist of the most vital settings we always configure at the beginning of any VR project.
Essential VR Project Setup Checklist
This table breaks down the absolute must-have settings for a professional VR project in Unreal Engine. Getting these right from day one is non-negotiable for stable performance.
| Setting/Task | Recommended Configuration | Why It Matters for VR |
|---|---|---|
| Instanced Stereo | Enabled | This is a huge performance win. It renders both eyes in a single draw call, nearly halving the CPU workload for rendering. |
| Mobile Multi-View | Enabled (for Quest/Mobile VR) | An optimisation specific to mobile chipsets that drastically improves rendering performance for stereoscopic vision. |
| Motion Blur | Disabled | Motion blur is a big no-no in VR. It’s a primary cause of motion sickness and offers no visual benefit inside a headset. |
| Anti-Aliasing Method | MSAA (Multi-Sample Anti-Aliasing) | For mobile VR like Quest, MSAA provides a crisp image with a predictable performance cost, unlike more demanding methods like TAA. |
| Forward Shading | Enabled | Forward Shading is generally more performant and VR-friendly, especially when paired with MSAA. It avoids the overhead of the deferred renderer. |
| Target Hardware | Mobile / Tablet | Sets the engine's scalability and feature defaults to levels appropriate for less powerful, standalone VR hardware. |
| Platform Plugins | Enable `Oculus VR` or `OpenXR` | You need to activate the specific plugin for your target headset (e.g., Oculus for Quest) to get access to its native features and tracking data. |
Tweaking these settings is the first practical step towards building a game that feels good and runs smoothly.
A classic rookie mistake is leaving the default desktop rendering settings active. Features like Lumen and Nanite are incredible, but they often need serious finessing, or completely different workflows, to hit the strict 72, 90, or 120 frames-per-second targets that are absolutely essential for a comfortable VR experience.
Finally, don't overlook your project structure. A logical folder hierarchy (`Blueprints`, `Maps`, `Materials`, `Meshes`, `Textures`, etc.) is another non-negotiable from day one. It keeps the project from descending into chaos as it scales, making collaboration far more efficient. This simple discipline saves an incredible amount of time and prevents confusion, especially when you've got a larger team working together.
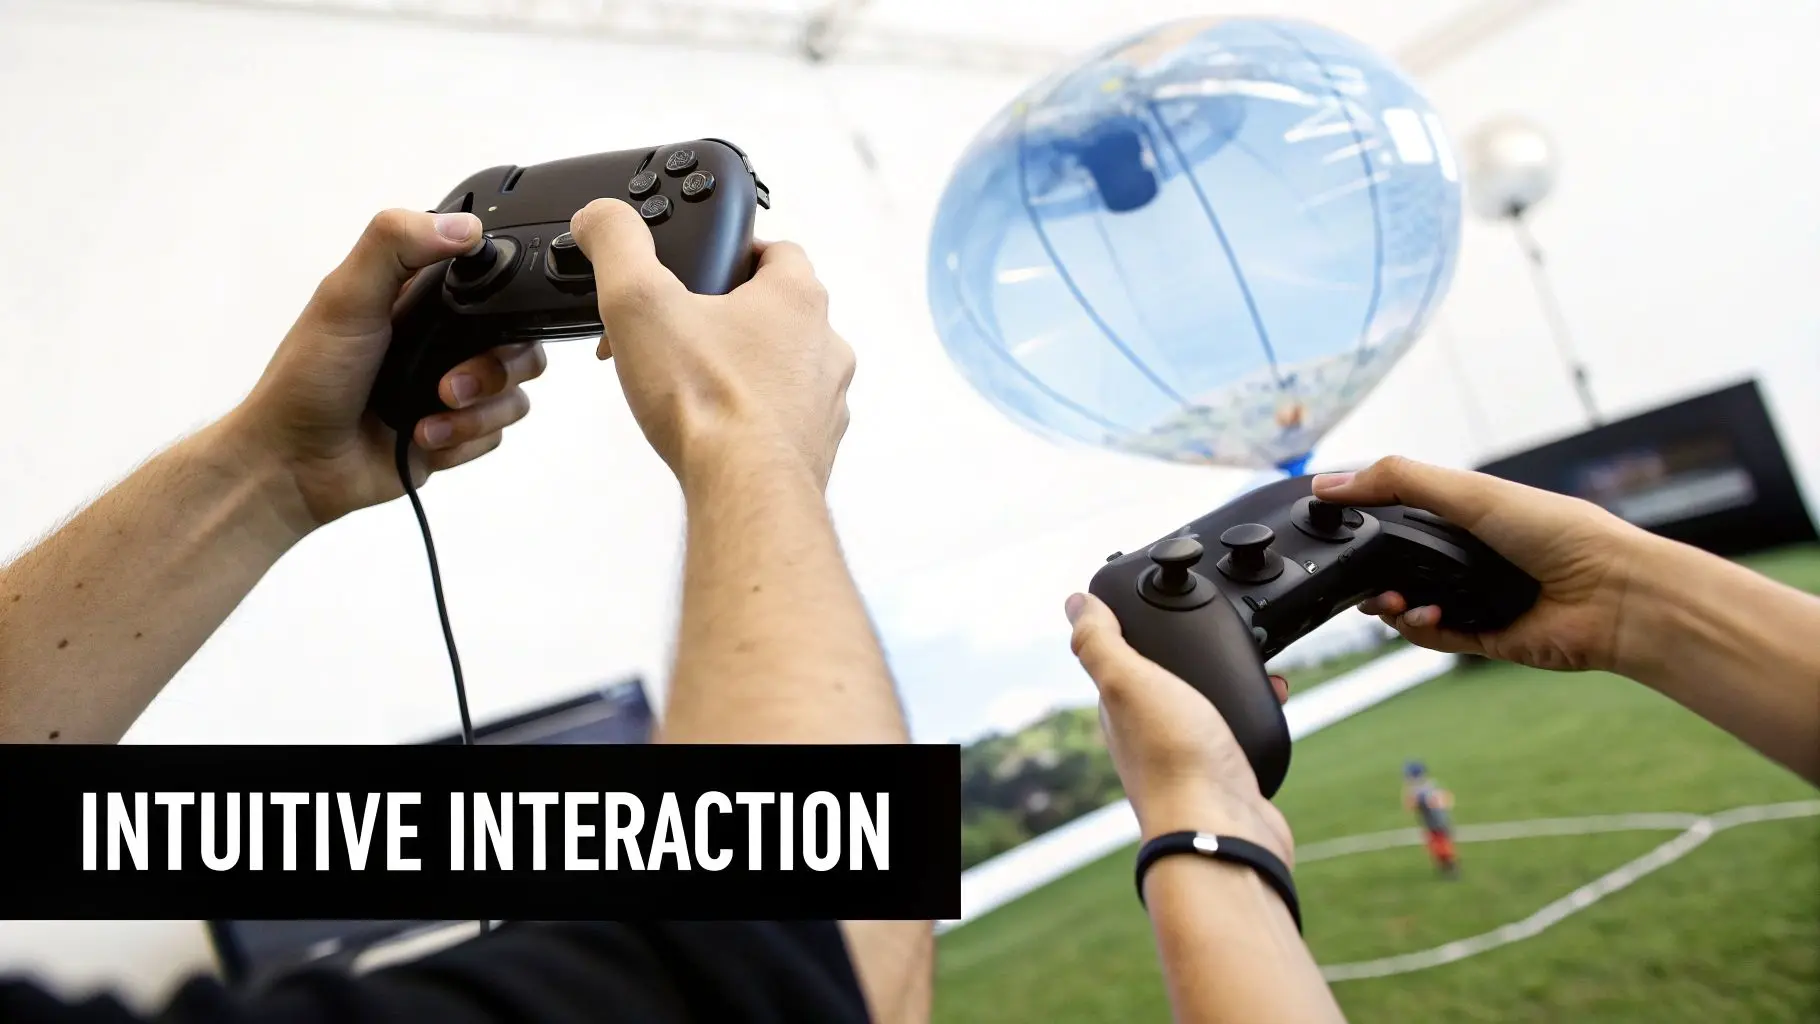
Designing Intuitive VR Interaction and Movement
In virtual reality, the 'feel' of everything is king. A clunky movement system or an object that doesn't react the way you expect can instantly shatter that precious sense of presence. Your success in VR game development with Unreal Engine really boils down to creating systems that feel less like a feature and more like an extension of the player's own body. This is where the magic of immersion is either won or lost. A player shouldn't have to consciously think about how to move or grab something; their brain should just know. Getting to that level of intuitive design means carefully weighing up the pros and cons of different locomotion and interaction models. The golden rule? Always, always prioritise player comfort.
Choosing the Right Locomotion Model
Deciding how players get from A to B is one of the biggest calls you'll make. It has a massive impact on immersion and, more critically, can be a one-way ticket to motion sickness if you get it wrong. There's no single 'best' method here; the right choice hangs entirely on your game's pace and who you're building it for. Here’s a quick look at the most common approaches we see in the studio:
- •Teleportation: This is the go-to for a reason. It's safe. Players simply point to where they want to go and pop, they're there. This method completely sidesteps the sensory mismatch that causes motion sickness, making it a fantastic choice for anyone new to VR or for slower-paced games like puzzle adventures or architectural walkthroughs.
- •Smooth Locomotion: Using the controller's analogue stick, players glide through the world just like in a classic first-person game. It offers maximum freedom and is often preferred by seasoned VR veterans, but it's also the most likely to make someone feel queasy.
- •Arm-Swinger Locomotion: Exactly what it sounds like. Players physically swing their arms to propel themselves forward. It's a much more physical and immersive way to move, and many people find it helps reduce motion sickness because it links a physical action to the in-game movement.
A crucial tip for smooth locomotion: always tie movement direction to the controller, not the player's head. When movement is locked to their gaze, every tiny, natural head turn causes an unintentional swerve, which is a fast track to discomfort.
Crafting Believable Object Interactions
Once your players can move around comfortably, they're going to want to touch things. Building a solid, believable system for grabbing, throwing, and fiddling with objects is absolutely essential. Unreal Engine’s input system, whether you're using Blueprint or C++, gives you all the tools you need to build these interactions from scratch. A great place to start is by putting collision components on the player’s virtual hands. When these overlap with an interactable object, you can fire off some logic to highlight it, listen for a 'grip' input, and then attach the object to the hand. You'll need to think about physics, how heavy it should feel, and how it behaves when the player lets go.
Designing User Interfaces for 3D Space
Forget everything you know about flat menus. Designing UI for VR means you have to think spatially. A menu that’s just plastered in front of the player's face feels jarring and pulls them right out of the world. Instead, your UI elements need to exist in the world. Here are a few ways to tackle it:
| UI Design Method | Description | Best Use Case |
|---|---|---|
| Diegetic UI | The interface is an actual object in the game world, like a wrist-mounted computer or a display on a weapon. | High-immersion games where the UI should feel completely natural to the environment, like sims or narrative titles. |
| Spatial UI | UI elements are rendered in 3D space, floating in the world and attached to objects or locations. | In-world tutorials, objective markers, or info panels that need to be clear but not feel like a separate screen. |
| Curved Canvases | Traditional menu elements are placed on a curved plane set at a comfortable distance from the player. | Settings menus, inventories, and other complex interfaces that need to show a lot of information clearly. |
The key is to make the UI feel like a natural part of the world, not some layer crudely slapped on top. Make sure you test for legibility at different distances and ensure that interacting with it, whether by a laser pointer or "physically" pressing a button, is a smooth and satisfying experience.
Building Performant Worlds and Assets for VR
Creating a world that feels both visually rich and runs like a dream is the central tightrope walk in VR development. This is where art and technical discipline have to meet. Just one badly optimised asset can absolutely tank your frame rate, which not only shatters immersion but can literally make players feel unwell. In our studio, we live and breathe by a strict asset pipeline that puts performance first, right from the very first polygon. This isn't about dialling back the visuals or making everything look bland; it's about being clever and efficient with your resources. Every choice, from a 3D model’s polycount to a material's complexity, has a direct ripple effect on the final experience. The mission is to build assets that look stunning inside the headset but are lean enough to hold that rock-solid high frame rate.
Mastering the VR Asset Pipeline
Think of your asset pipeline as the production line for everything the player sees. Any sloppiness here creates performance bottlenecks that are a nightmare to fix later on. That’s why we enforce rigid guidelines for any asset before it even touches the engine. Here are a few non-negotiables for a VR-ready pipeline:
- •Strict Polygon Budgets: We set hard polycount limits for different asset categories, like characters, props, and environmental pieces. This is a simple but effective way to stop artists from accidentally creating GPU-melting models.
- •Texture Atlasing: Instead of loading tons of small, individual textures, we combine them into larger texture sheets, or atlases. This move drastically cuts down on draw calls, a huge performance win, especially for standalone VR hardware.
- •Meticulous UV Mapping: Clean, non-overlapping UVs are non-negotiable. They’re essential for textures to apply correctly and, crucially, for efficient lightmap baking in static lighting workflows.
The UK, in particular, has become a real hotbed for top-tier VR development. Studios here are pushing Unreal Engine's toolset to build some truly expansive experiences. With projections for AR/VR revenue showing explosive growth, Unreal’s features like world-partitioned levels are vital for creating the large-scale adventure and role-playing games popular in the UK market without crippling performance. You can dig deeper into the UK's expanding role in the VR gaming market here.
Optimisation Techniques That Actually Work
Beyond a clean pipeline, there are a few in-engine techniques we rely on every single day to keep performance in check and strike that perfect balance between fidelity and frame rate. #### Level of Detail (LOD) Systems Level of Detail (LOD) is your absolute best friend in VR. The concept is wonderfully simple: you create several versions of a mesh, each one less detailed than the last. Unreal then automatically swaps them in and out based on how far the object is from the player. So, a detailed model with 50,000 polygons might be used when you're right up close, but a super-simplified 1,000-polygon version is swapped in when it's just a speck in the distance. The player never notices, but the performance impact is monumental. It's one of the oldest tricks in the book for a reason. #### Efficient Material and Shader Creation It’s easy to forget, but materials can be serious performance hogs. A single complex material with multiple texture samples, transparency, and fancy shader logic can be more expensive to render than a high-poly model.
In VR, simpler is almost always better. We lean heavily on baked lighting and simple, opaque materials over dynamic, real-time alternatives. A single dynamic light can cost more than dozens of static, baked lights, so we use them sparingly and for very specific reasons.
This is especially true on mobile VR, where the GPU is already stretched to its limit. Overdraw, where the GPU renders the same pixel multiple times due to layered transparent materials, is a notorious performance killer on hardware like the Meta Quest. Sticking to opaque materials wherever you can is one of the most fundamental optimisation wins you can get.
Adapting Unreal's Modern Tools for VR
Unreal Engine 5 brought game-changers like Nanite and Lumen to the table, and they produce incredible results for traditional PC and console games. But when it comes to VR, you have to be more deliberate about how, and if, you use them.
- •Nanite: While Nanite's virtualised geometry is incredible, its support for VR is still maturing and can introduce performance overhead. For most VR projects, especially anything targeting standalone headsets, the classic LOD workflow remains the safer, more reliable bet for now.
- •Lumen: Lumen delivers breathtaking real-time global illumination, but it is incredibly GPU-intensive. It's simply too demanding for current-gen VR headsets to maintain the high, stable frame rates required. For the time being, baked lighting using Unreal’s GPU Lightmass is still the gold standard for achieving beautiful and performant lighting in VR.
Building for VR in Unreal Engine means making informed trade-offs. It's about knowing which tools to embrace and, just as importantly, which cutting-edge features to shelve to create a world that isn't just beautiful, but perfectly smooth and deeply immersive.
Optimising Performance for a Flawless VR Experience
In virtual reality, performance isn't just a technical goal; it's a fundamental requirement for player comfort. Dropped frames and juddering gameplay don't just pull you out of the experience, they can cause genuine physical discomfort and motion sickness. For any VR game development Unreal Engine project, achieving a rock-solid, high frame rate is your most important technical challenge. You have to become a detective, hunting down every wasted millisecond.
This isn’t a process of guesswork. It's about using the right tools to get hard data on what your game is doing at any given moment. Profiling is your first and most powerful weapon in the war against dropped frames.
Pinpointing Bottlenecks with Profiling Tools
Unreal Engine comes with a fantastic suite of built-in profilers that give you a granular view of your game’s performance. You can't fix what you can't measure, so getting comfortable with these tools is essential.
- •Unreal Insights: Think of this as your command centre for performance analysis. It gives you a detailed timeline of everything happening on both the CPU and GPU. This lets you see exactly which functions, draw calls, or game systems are eating up the most time.
- •GPU Visualizer: Just type `stat gpu` into the console to bring this up. It provides a direct look at your GPU's workload, breaking down the rendering process pass by pass. It makes it easy to spot expensive materials, post-process effects, or lighting costs that are dragging your frame rate down.
- •CPU Profiler: Use `stat startfile` and `stat stopfile` to capture a snapshot of all CPU activity. This helps you identify sluggish game logic in Blueprints or C++, physics calculations, or any other CPU-bound tasks causing hitches.
The real skill is in interpreting this data. Are your CPU frame times consistently higher than your GPU times? Then your bottleneck is probably in the game logic or draw calls. Is the GPU maxed out? Then it’s time to start investigating your materials, lighting, and polygon counts.
Advanced Optimisation Strategies
Once you’ve identified the culprits, you can start deploying more advanced optimisation techniques. These strategies are all about working smarter to reduce the engine's workload. #### VR Performance Bottleneck Troubleshooting Guide Before diving into specific solutions, it's useful to have a mental map of how to approach common problems. Think of this table as a quick-reference field guide for when you see your frame rate start to dip.
| Symptom (e.g., Low FPS) | Likely Cause | Unreal Engine Tool for Diagnosis | Common Solution |
|---|---|---|---|
| Consistent low FPS, high GPU time | Overly complex shaders, expensive lighting, high poly counts | GPU Visualizer (`stat gpu`) | Simplify materials, bake lighting, reduce polygon counts with LODs |
| Stuttering/hitching, high CPU time | Too many draw calls, complex game logic (Blueprints/C++) | Unreal Insights, CPU Profiler | Implement HLODs, merge meshes, optimise slow code |
| Frame drops in dense environments | Too many objects being rendered, even ones not visible | GPU Visualizer (check "BasePass" cost) | Implement or check Occlusion Culling settings, use Cull Distance Volumes |
| Performance degrades over time | Memory leak, excessive object spawning | Memory Insights (part of Unreal Insights) | Fix memory leaks in code, implement object pooling systems |
This structured approach, symptom, cause, tool, solution, turns a frustrating performance issue into a solvable puzzle.
Draw Call Reduction
Every single object your game renders requires a "draw call" from the CPU to the GPU. Too many draw calls can create a bottleneck and overwhelm the CPU, even if your GPU has power to spare.
- •HLODs (Hierarchical Level of Detail): This powerful system automatically combines distant meshes into a single, simplified mesh and material. It can absolutely slash the number of draw calls in complex outdoor environments.
- •Mesh Merging: A more manual approach where you combine multiple static meshes into one. It’s perfect for clusters of props or environmental details that will always be seen together.
Rendering Efficiency
These techniques focus on a simple principle: don't make the GPU render anything it doesn't have to.
- •Occlusion Culling: This prevents the engine from rendering objects that are completely hidden behind other objects. Unreal’s implementation is highly effective and should be one of the first things you enable for any dense scene.
- •Foveated Rendering: This is a VR-specific game-changer. It renders the very centre of the player's gaze in high resolution while progressively lowering the resolution in their peripheral vision. It can provide a huge performance boost with little to no perceptible loss in quality.
The growth of the UK's VR gaming scene is largely driven by studios mastering these kinds of engine features. High-quality, comfortable experiences are what sell, and that comes from technical excellence. Of course, beyond VR-specific optimisations, general principles of efficient development are vital. For a broader look at structuring your project for speed, this guide on application performance optimization offers some valuable context.
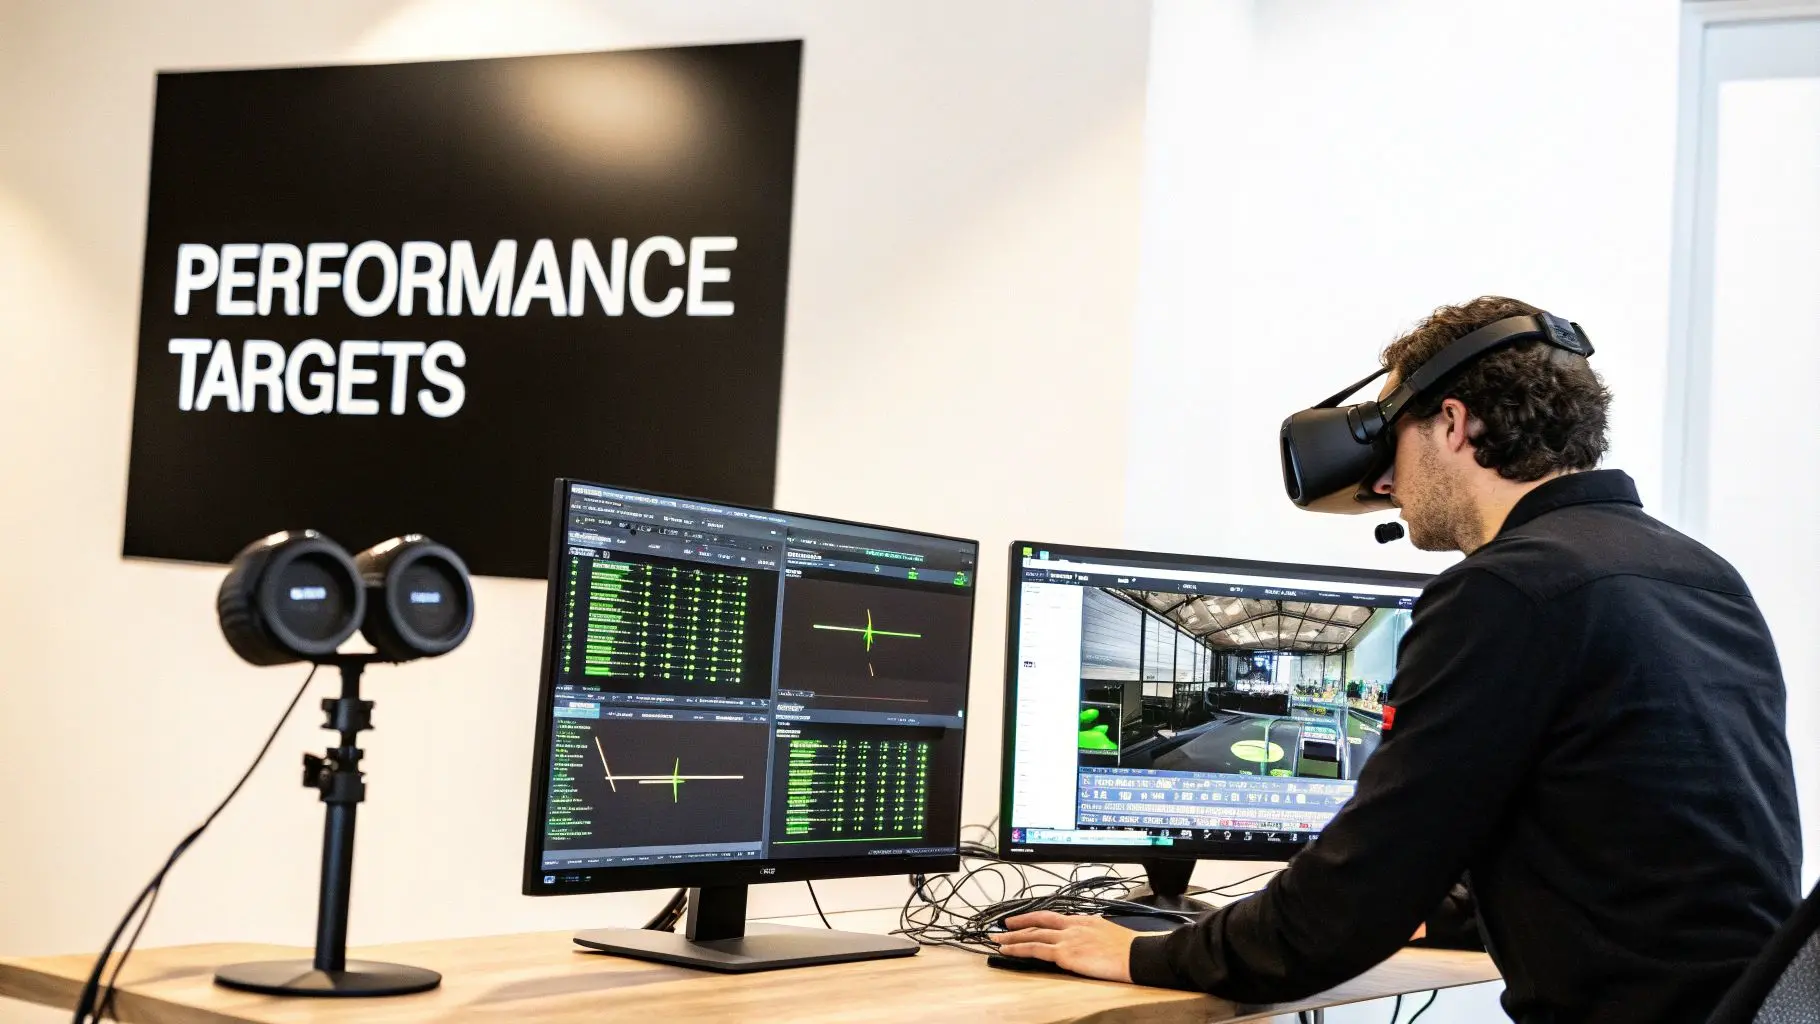
Performance targets are not suggestions. For Meta Quest 2/3, you must consistently hit 72 or 90 FPS. For PCVR headsets like the Valve Index, 90 or 120 FPS is the goal. Missing these targets isn't just a technical failure; it’s a design failure that compromises the entire player experience.
For developers targeting Meta Quest headsets, it's also critical to understand the platform's specific performance constraints. We've covered some of these in our guide on Oculus app developer performance, which offers a deeper look at optimising for standalone hardware. A disciplined approach to profiling and optimisation is what separates professional VR titles from frustrating tech demos.
Getting Your Game Out the Door: QA and Deployment
So, you’ve built your game. The mechanics feel great, the world is immersive, and everything seems to be clicking. Now comes the hard part: getting it across the finish line. This final stretch, navigating Quality Assurance (QA) and platform deployment, is where good VR games become truly great ones. It’s a meticulous process of hunting down every last bug, guaranteeing player comfort, and successfully navigating the submission gauntlet of the big VR storefronts. Think of this as the final, crucial polish. All your hard work can be instantly undone by a single performance stutter or a clumsy interaction. That’s why a disciplined, structured QA plan isn’t just a nice-to-have; it's a non-negotiable part of your production pipeline.
Building a QA Plan That’s Actually for VR
Testing a VR game is a different beast entirely. You’re not just looking for the usual crashes or graphical glitches. Your focus has to broaden to include the player's physical and psychological wellbeing. In VR, a bug doesn't just break the game; it can make someone physically sick. Your QA checklist absolutely must cover these core VR-specific areas:
- •Comfort and Motion Sickness: This is priority number one. Testers need to be actively hunting for any camera movement, sudden acceleration, or visual effect that could make a player feel nauseous.
- •Interaction Clarity: Is it obvious how to grab, use, or throw an object? Do the virtual hands line up properly with the player’s real controllers? Any disconnect here shatters the immersion.
- •Hardware Compatibility: Your game has to run smoothly on every headset you’re targeting, whether it’s a Quest 2, Quest 3, PSVR2, or a Valve Index. Each one has its own controllers, tracking quirks, and performance ceiling.
- •Play Space Viability: Does the experience hold up for players who are seated, standing, or have a full room-scale setup? It's easy to design for a huge, empty room, but many players have limited space.
I’ve seen this trip up so many teams: they only test in perfect, 3x3 metre room-scale conditions. A huge chunk of your audience will be playing from a chair. If your game demands that the player physically duck, you absolutely need a button-based alternative for those who can't.
The Headache of Hardware Fragmentation
One of the toughest hurdles in VR QA is accounting for the sheer variety of hardware and setups out there. It’s not just about the different headsets. You’ve got different controller layouts, varying tracking precision, and even things like room lighting that can mess with performance. Your testing matrix needs to be broad. A bug might only rear its head when someone is using a specific controller, or maybe it only happens on a two-sensor setup instead of a three-sensor one. This is exactly why professional VR studios maintain a library of physical hardware. Emulators can get you part of the way, but nothing beats testing on the exact devices your players will be using.
Packaging Your Game and Submitting to the Stores
Once the game is polished and bug-free (or as close as you can get!), it’s time to package it up and send it off to the storefronts. Every platform, from the Meta Quest Store and SteamVR to the PlayStation Store, has its own unique and strict set of technical rules and submission guidelines. Here’s a quick look at what you’re in for:
| Platform | Key Submission Requirements | Common Sticking Points |
|---|---|---|
| Meta Quest Store | Needs to meet tough performance, comfort, and content rules. You’ll be filling out detailed forms and submitting multiple builds for review. | Failing the VRCs (Virtual Reality Checks) is the big one. These are Meta's core technical standards, and performance dips are a very common reason for rejection. |
| SteamVR | Much more open and flexible. It’s more about setting up your store page correctly and ensuring your build works across different headsets using OpenXR. | Getting broad hardware compatibility right. A game that runs like a dream on one PCVR headset might have bizarre input mapping issues on another. |
| PlayStation VR | Involves a very rigorous technical certification process (TRCs). You'll need specific SDK integrations and quality checks handled directly by Sony's team. | Meeting Sony’s incredibly demanding technical requirements. They cover everything from how you manage save data to the precise implementation of trophies. |
Be warned: the submission process can take a while, and you’ll likely go through a few rounds of feedback and resubmissions. You have to build this time into your project schedule from the beginning. Get your builds, documentation, and marketing assets ready well in advance, it will make your launch a whole lot less stressful.
Common Questions About VR Development in Unreal
Jumping into VR game development in Unreal Engine can feel like opening a Pandora's box of questions, especially once you move past basic prototypes. Over the years, our studio has heard just about every query imaginable from fellow developers trying to navigate the unique hurdles of VR. This section is where we share some of that hard-won knowledge. Think of it as a collection of those late-night, coffee-fuelled chats between devs, the practical, real-world advice you need when the official documentation just doesn't cut it.
What Kind of PC Do I Really Need for VR Development?
This is, without a doubt, the question we get asked the most. The honest answer? It really depends on what you're building. You don't need a monster rig to make a great Meta Quest game, but skimping on your hardware will absolutely lead to a frustrating development cycle, plagued by slow compiles and a choppy editor. Let’s break it down into three realistic tiers:
- •Entry-Level (For Standalone VR & Prototypes): A modern 10-core CPU, like an Intel i5-13400F, matched with an RTX 4060 Ti and 32GB of RAM is a fantastic starting point. This kind of setup is perfect for anyone learning the ropes or building for standalone headsets like the Quest 3, where optimisation is everything anyway.
- •Mid-Tier (Professional PCVR Development): For most professional projects, you’ll want to step it up. An Intel i7-13700K or an AMD Ryzen 7 7800X3D, paired with an RTX 4070 SUPER and at least 32GB of fast DDR5 RAM, will give you a much smoother ride. This is the sweet spot for handling larger scenes and more complex materials without constantly hitting performance walls.
- •High-End (Enterprise & Virtual Production): When you're working on demanding simulations or deep in the world of virtual production, you'll need a proper workstation. We're talking an Intel i9-14900K, an RTX 4090, and 64GB of RAM or even more. This is for teams pushing the very limits of what real-time rendering can do in VR.
A crucial piece of advice: Whatever you do, don't skimp on RAM or storage. Think of 32GB of RAM as your absolute minimum for serious work. A fast NVMe SSD is completely non-negotiable. Unreal Engine projects are notoriously huge, and a slow drive will be the death of your productivity.
Is Blueprint Good Enough or Should I Use C++?
Ah, the classic Unreal Engine debate. For VR, the answer is a bit more nuanced. Blueprint is fantastic for VR development, no question. It’s perfect for rapidly prototyping interactions, building out UI elements, and handling most of your game logic. Its visual, node-based system lets you iterate incredibly quickly, which is absolutely vital when you're trying to nail down how a VR mechanic feels. But when it comes to performance-critical systems, C++ is still the undisputed champion. Anything that needs to run every single frame, think complex physics calculations or a custom locomotion system, will almost always be more efficient if it's written in C++. Our studio workflow has settled into a pretty effective rhythm:
- Prototype absolutely everything in Blueprint. Get the core mechanics built and tested fast. Find out if the idea is fun and intuitive in VR before you over-commit.
- Hunt down the performance hotspots. Use Unreal's profiling tools to see exactly which Blueprints are eating up the most CPU time.
- Convert only the critical systems to C++. Take those few demanding functions and rewrite them in C++ for maximum speed, then expose them back to Blueprint so designers can still tweak them easily.